✨ A Complete Guide to the Sharpen 3×3 Tool
PhenoCapture AI’s Sharpen tool is a quick and highly optimized feature designed to enhance the clarity of your images. By utilizing a 3×3 parallel processing filter, it instantly brings out fine details and sharpens edges, making it perfect for clarifying slightly out-of-focus captures or enhancing structural boundaries.
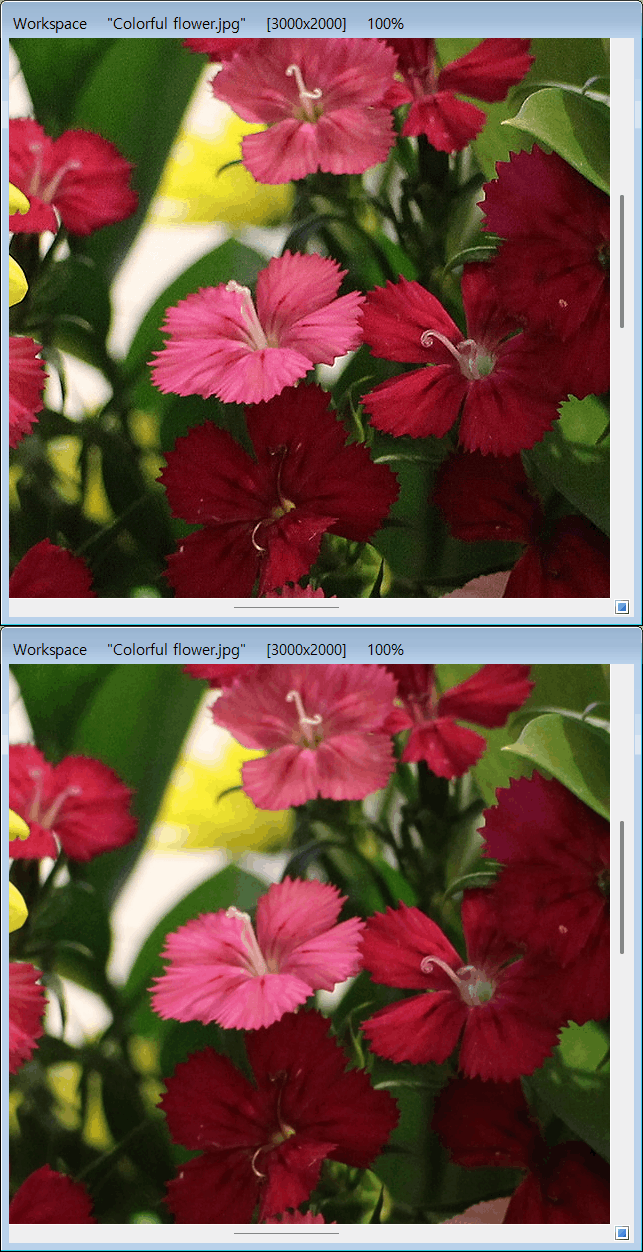
Note: There is some loss of image quality during the conversion to an animated GIF.
💡 Key Features
- High-Speed Parallel Processing: Built with performance in mind, the tool utilizes a parallel 3×3 sharpening algorithm to process even the highest resolution images instantly without freezing your workflow.
- Smart Regional Masking: You don’t have to sharpen the entire image! If you draw a selection on your workspace, the tool will intelligently apply the sharpening only to that specific area, leaving the rest of your image completely untouched.
- Seamless Undo Integration: Experiment freely. The Sharpen tool is automatically hooked into PhenoCapture AI’s undo engine. If the image looks too crisp or noisy, you can instantly revert back to your original state.
- Performance Tracking: The software automatically tracks the tool’s execution time using a high-precision stopwatch, updating your process time status directly on the interface.
🛠️ How to Use the Sharpen Tool
Step 1: Select Your Area (Optional)
If you only want to sharpen a specific detail, use any of the region selection tools in your workspace to highlight your target area. If you want to sharpen the entire image, simply ensure no regions are actively selected.
Step 2: Apply the Filter
Click the Sharpen option from the menu. Your cursor will briefly change to a loading state while the parallel processing engine instantly calculates and applies the 3×3 filter to your pixels.
Step 3: Review and Revert (If Necessary)
Inspect your newly sharpened image! If the edge enhancement is too intense or introduces unwanted background noise, simply use your standard Undo shortcut to instantly restore the original image.