✨ A Complete Guide to Inverse Fast Fourier Transform
PhenoCapture AI’s Inverse Fast Fourier Transform (Inverse FFT) tool allows you to seamlessly reconstruct a spatial image from the frequency domain. When combined with our Forward Fast Fourier Transform (FFT), this becomes a powerful frequency-domain filtering system. By manually painting over specific frequency peaks (such as periodic noise, grid lines, or interference patterns) using the Brush Annotation tool, the Inverse FFT mathematically rebuilds your image with those unwanted elements completely removed.
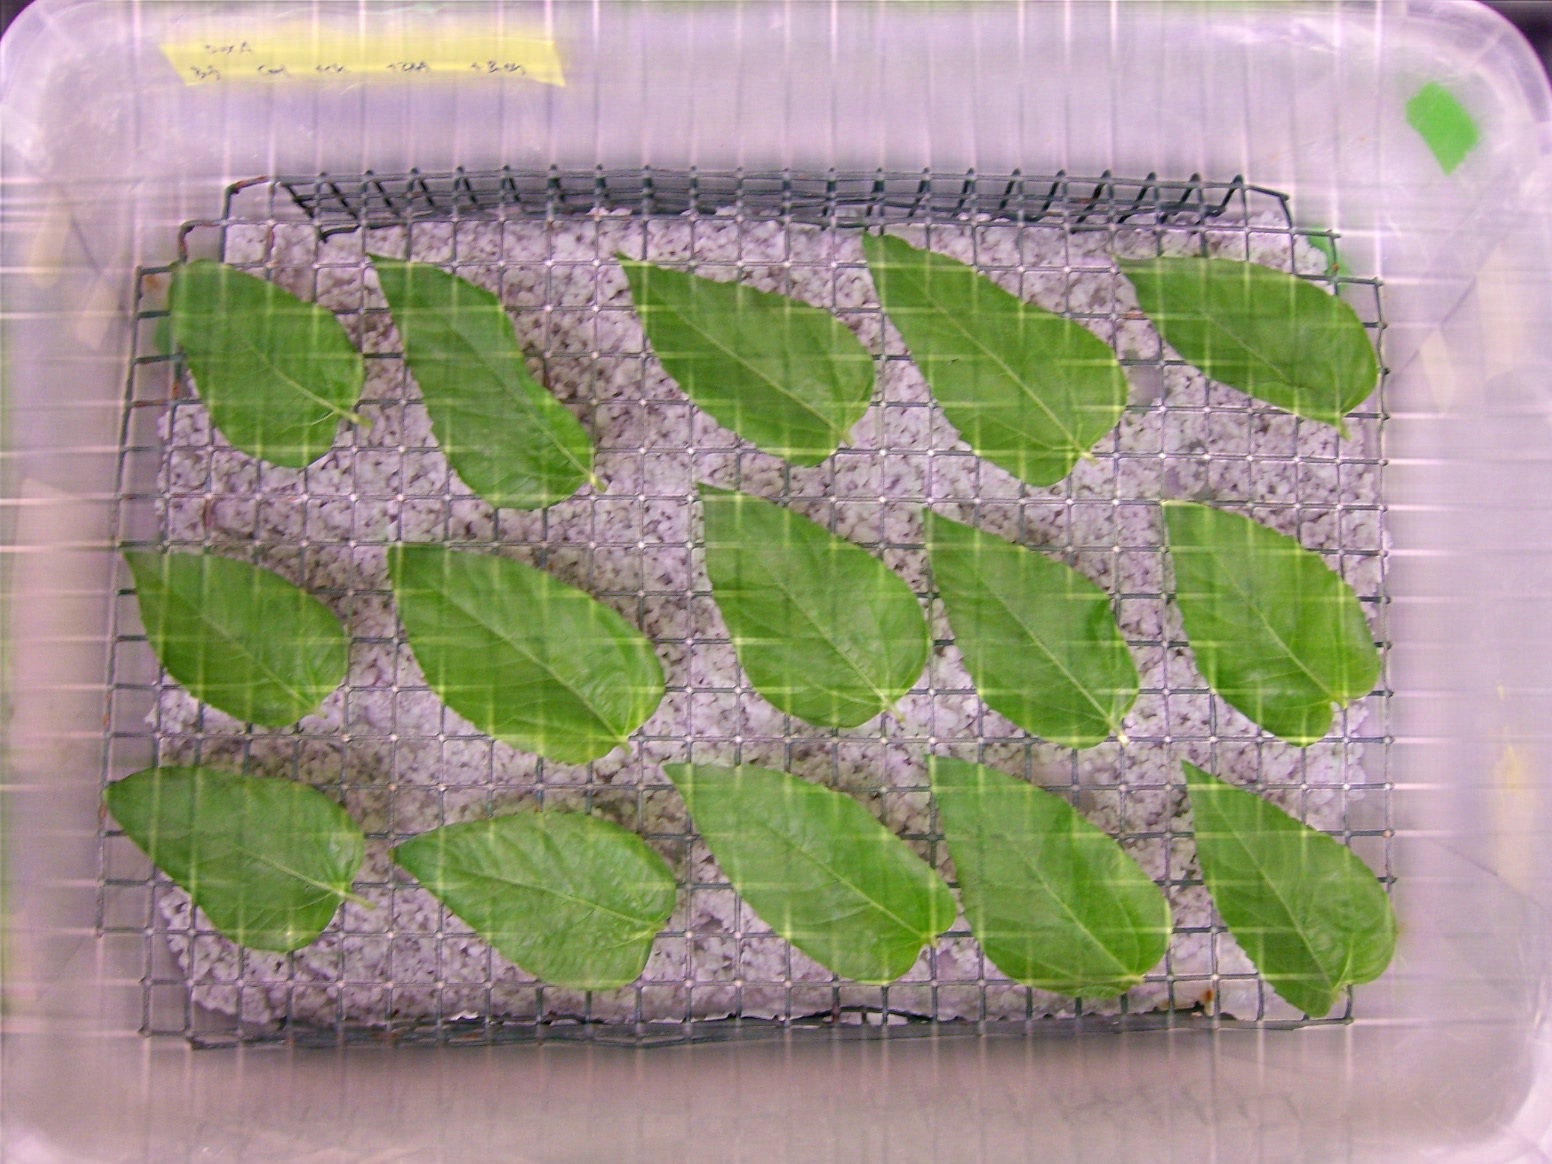
[Restored image after applying FFT to the source image, editing the frequency plot, and running Inverse FFT (see the tutorial below for step-by-step instructions)]
💡 Key Features
- Smart Differential Masking (Zero Blur): No complex math required—simply use the Brush Annotation tool to paint over unwanted bright spots with black color. The engine intelligently compares your edited image against the original FFT plot pixel-by-pixel (detecting where your edited pixel brightness is
< 5while the original FFT pixel was>= 5). It strictly zeroes out only the noise peaks you explicitly painted, preserving the natural dark background frequencies to ensure your restored image remains 100% sharp. - Lossless Resolution via Mirror Padding & Cropping: Unlike standard FFT tools that resize and blur your image, PhenoCapture AI dynamically calculates the optimal power-of-2 size and applies a seamless Mirror Padding (Symmetric Padding) during the Forward FFT to prevent Gibbs phenomenon (ringing artifacts). Upon reconstruction, the Inverse FFT automatically crops the image precisely back to its original dimensions (
SavedOriginalWidth×SavedOriginalHeight) without any interpolation, guaranteeing perfect resolution preservation. - Full Color (RGB) Parallel Processing & Async UI: The Inverse FFT engine independently extracts the Red, Green, and Blue channels and processes the inverse mathematical transformations simultaneously across all CPU cores. Running entirely asynchronously in the background, it provides a smooth, real-time progress window without ever freezing your workspace interface.
- Smart Identity Validation: To prevent accidental data corruption, the tool includes a safety validation system. It verifies the exact power-of-2 image dimensions and workspace identifier (
SavedWorkspaceTag) to ensure you are applying the Inverse FFT to the correct, actively linked magnitude plot, avoiding errors if an unrelated image was loaded. - Automatic Frequency Unshifting: The engine automatically performs a reverse
RemoveFFTShiftin the background, moving the zero-frequency (DC) components from the center back to their original mathematical corners before performing the inverse calculation. - Seamless Undo Integration: Instantly compare your new filtered image with the original noisy version by using PhenoCapture AI’s built-in undo/redo engine.
🛠️ How to Use the Inverse FFT Tool
Step 1: Generate the Frequency Plot
First, load your image and navigate to the menu to click Fast Fourier Transform. The engine will calculate the optimal dimensions, apply mirror padding, and display the frequency Magnitude Plot of your image.
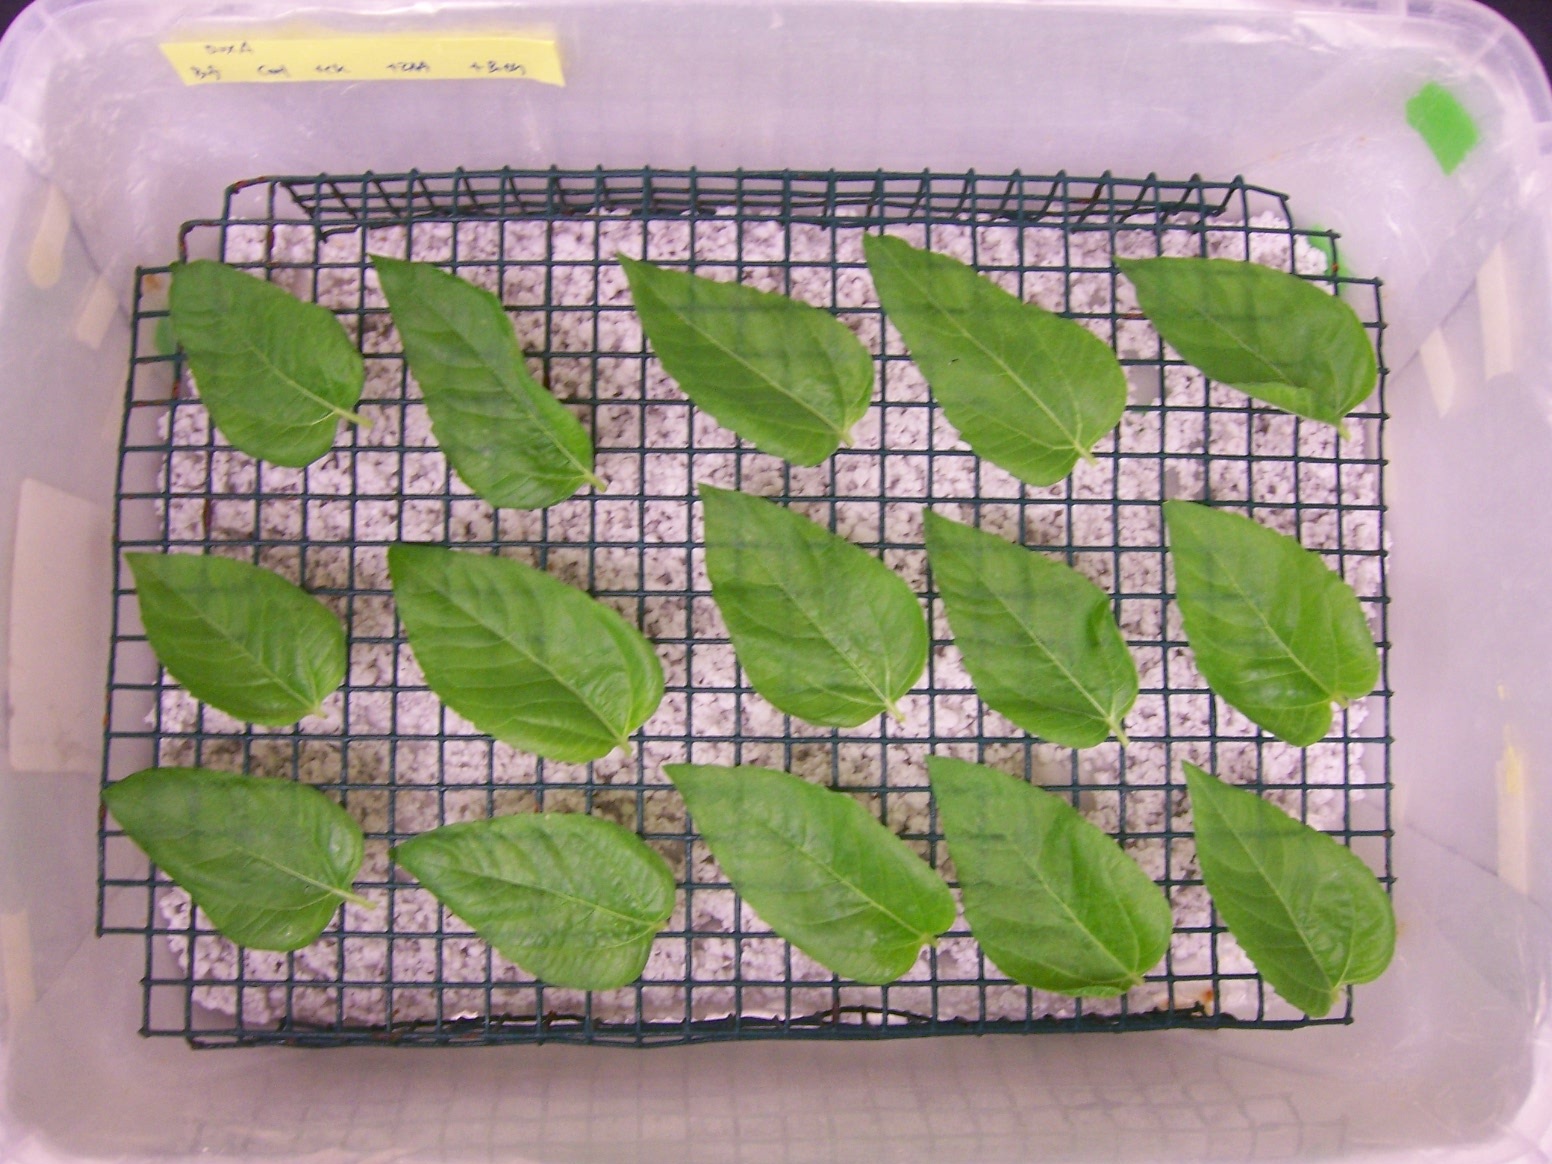
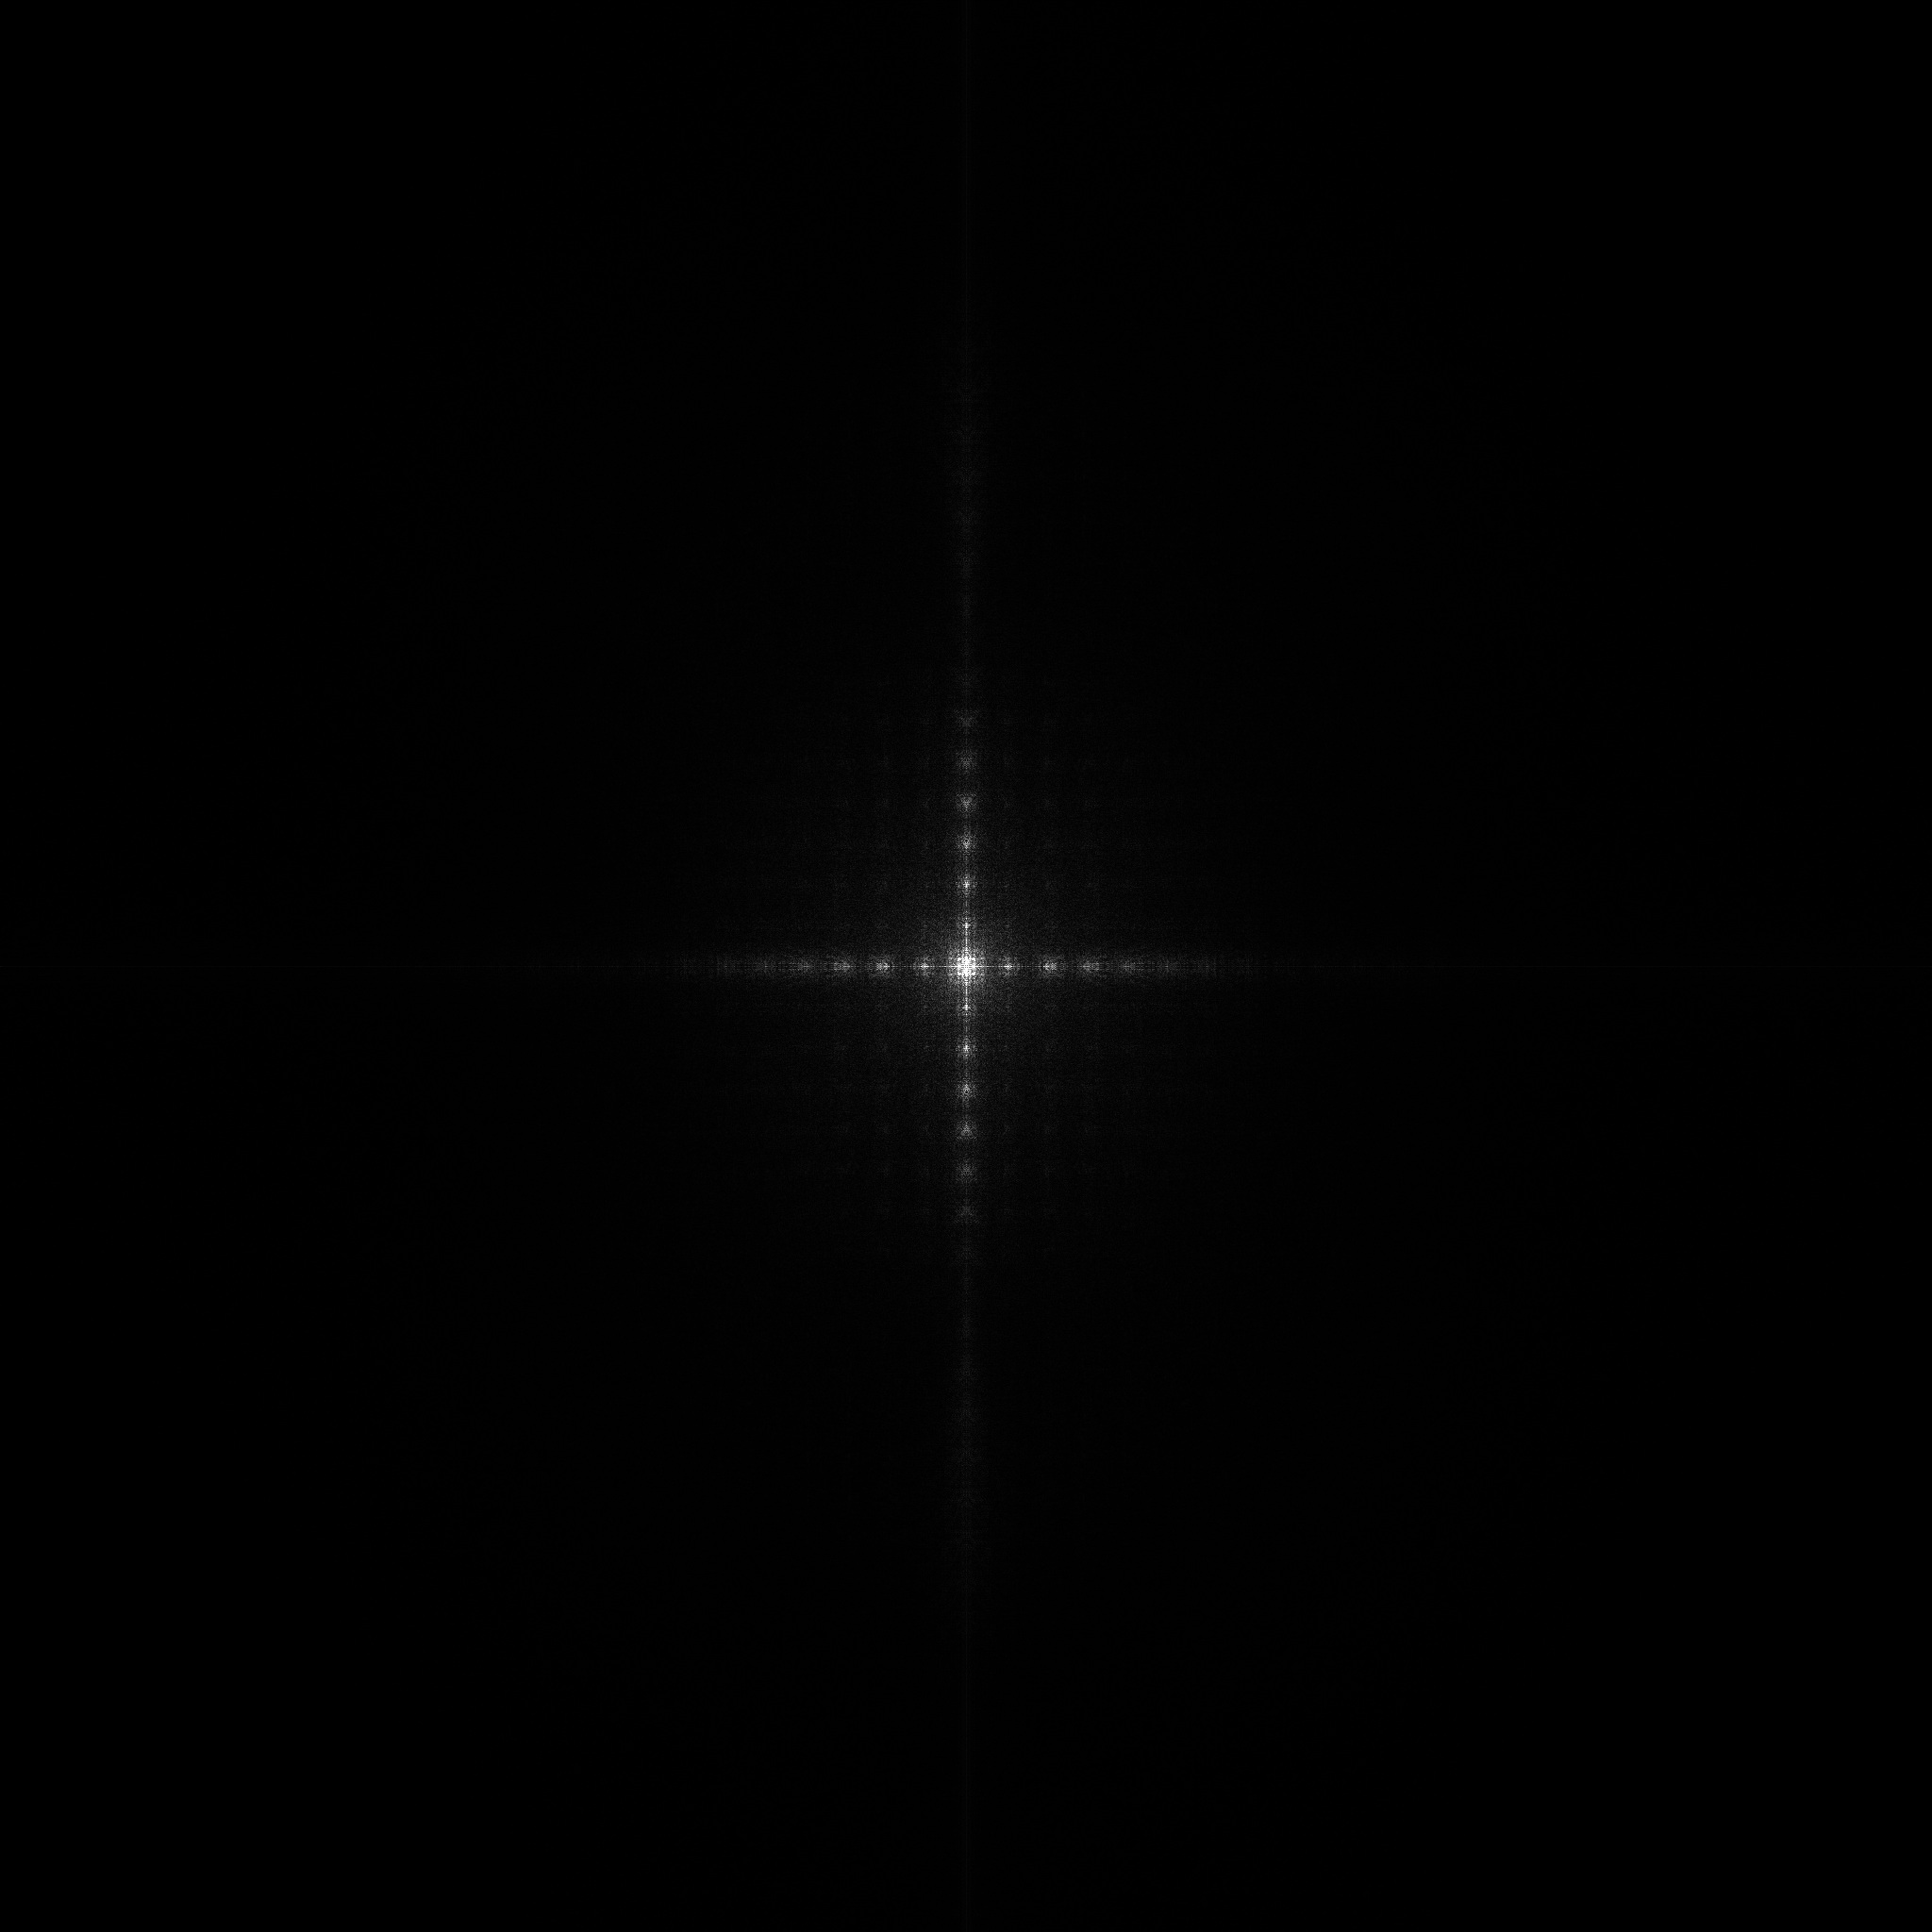
Step 2: Mask Unwanted Frequencies (Editing)
Select the Brush Annotation tool and set your brush color to Black. Carefully paint over the bright spots or radiating lines that correspond to the noise or patterns you want to remove. Leave the center peak (which represents overall image brightness and core structure) intact.
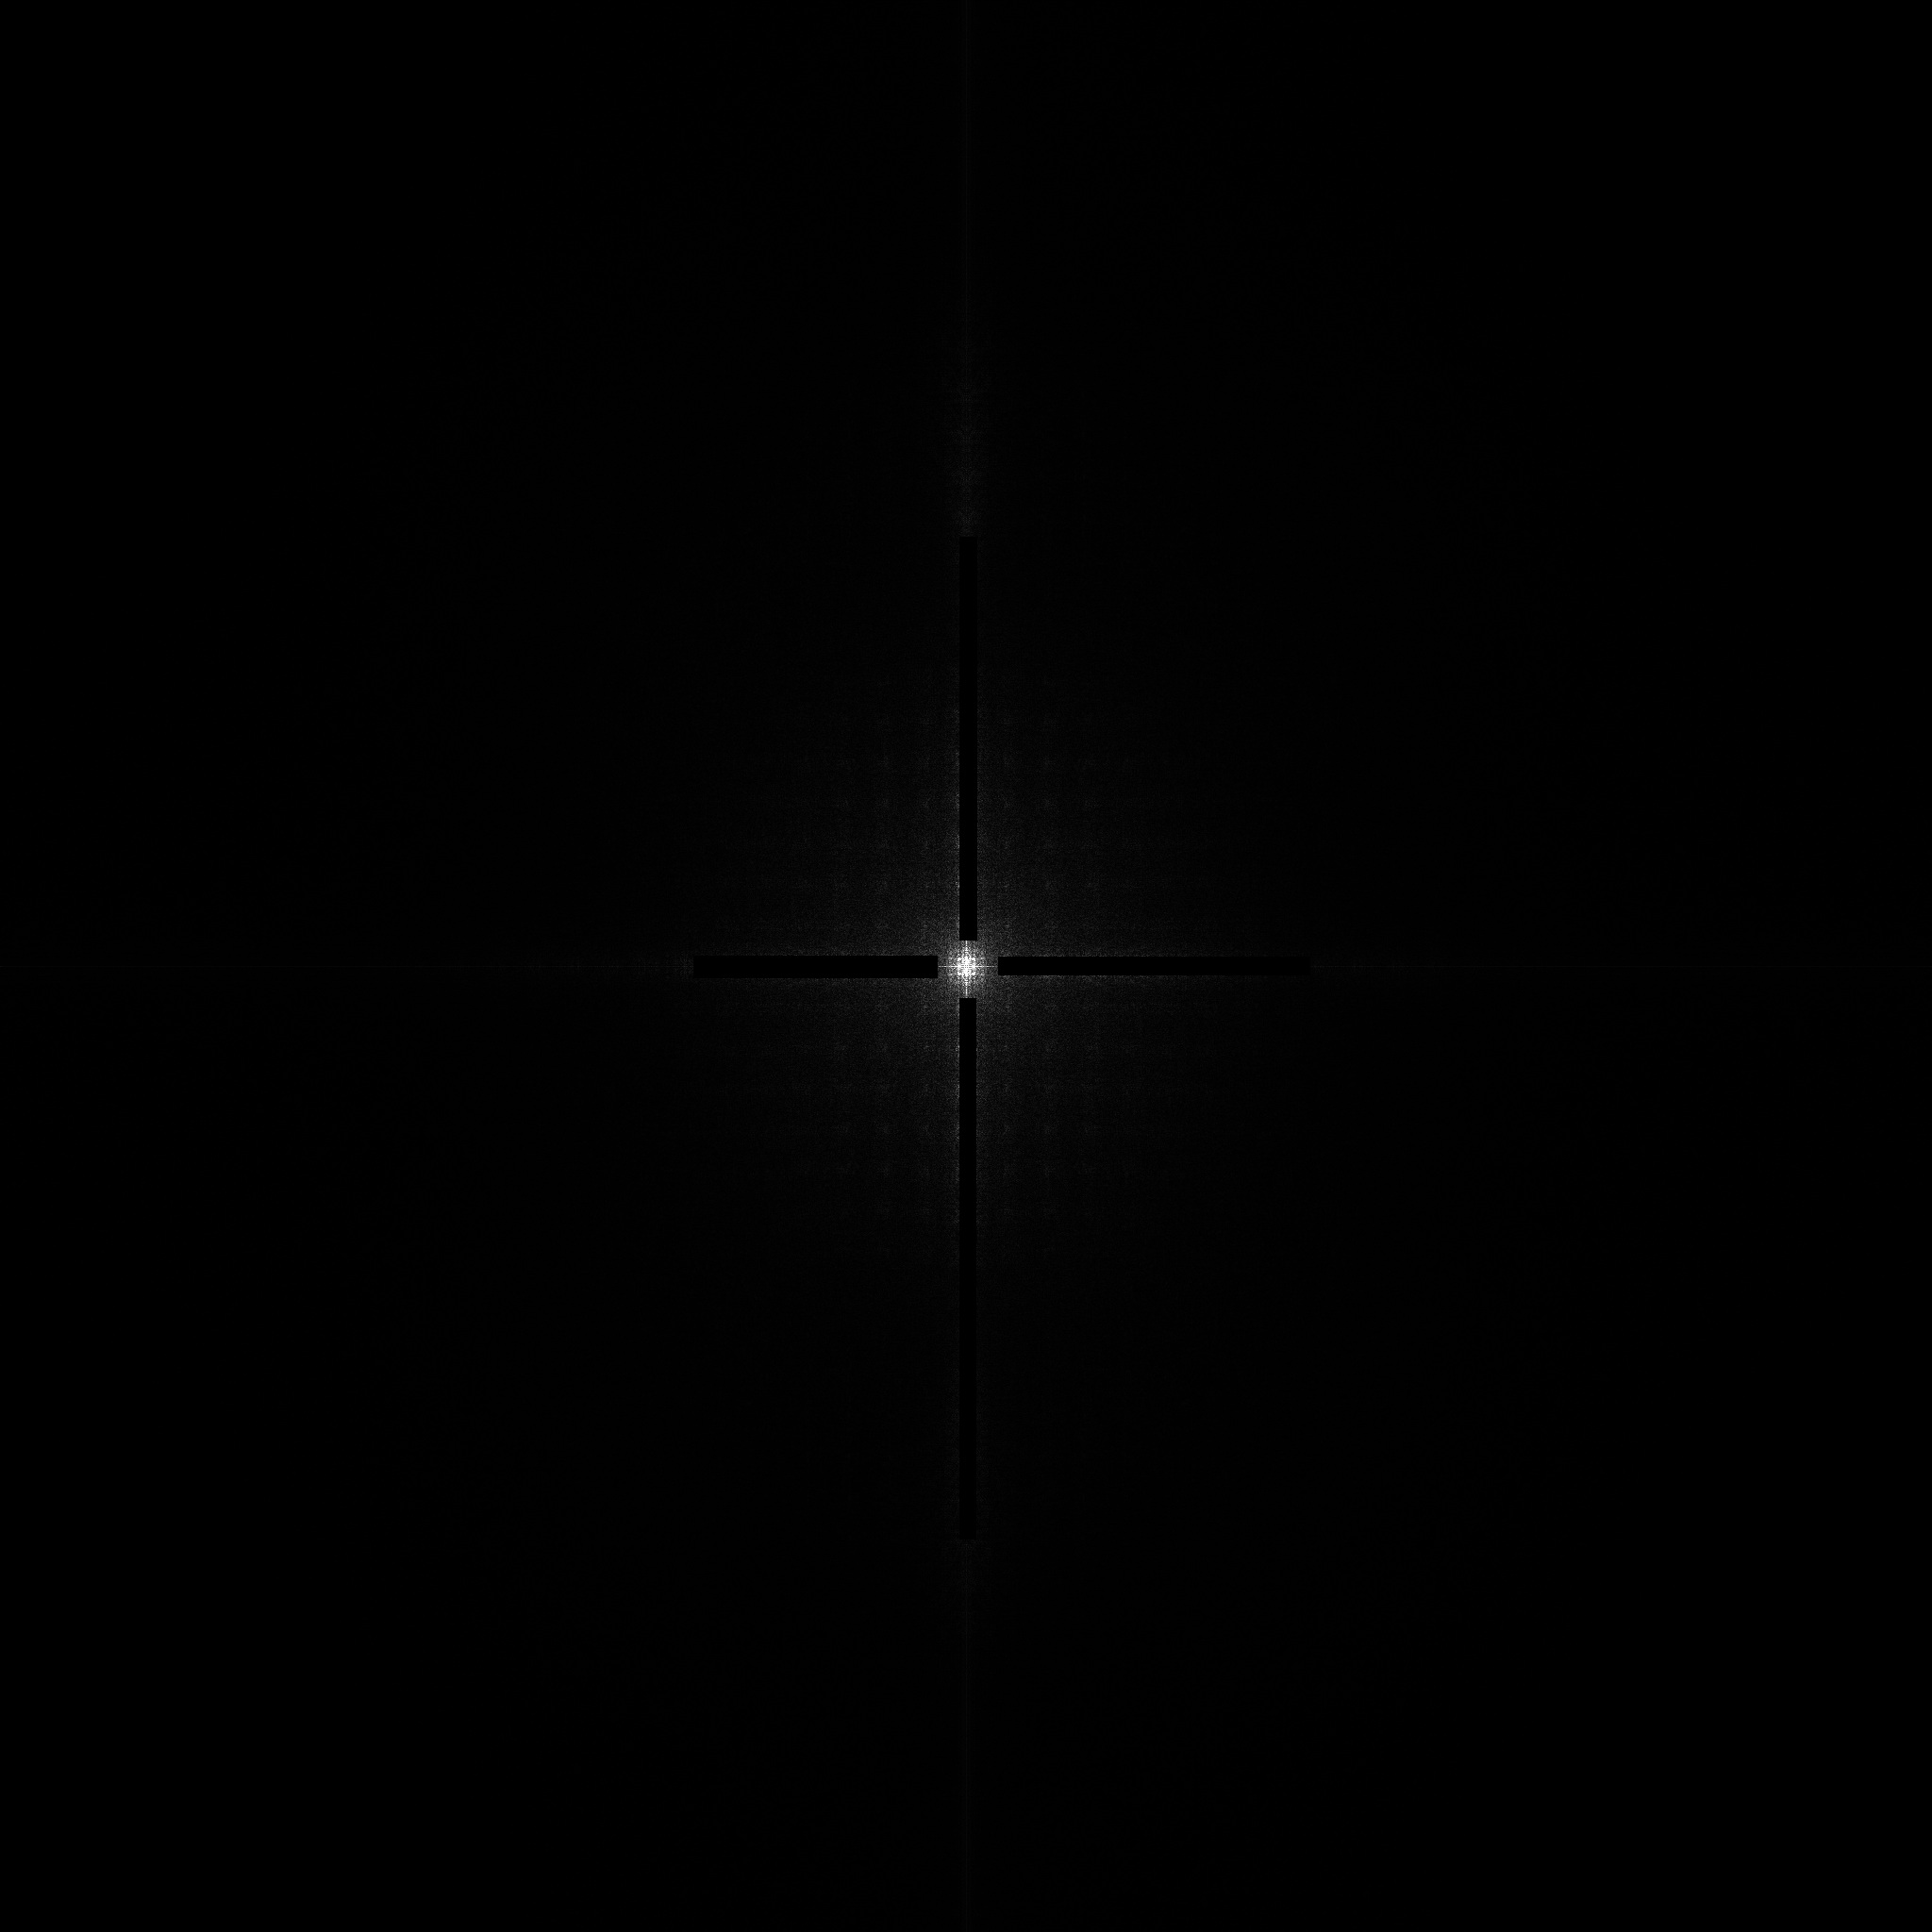
Step 3: Apply the Inverse Transform
Navigate to the menu and click Inverse FFT. A progress window will appear as the software rapidly detects your painted regions, mathematically zeroes out those specific frequencies across the R, G, and B complex buffers, unshifts the data, and performs the reverse transformation in parallel.
Step 4: Review Your Filtered Image
The workspace will automatically update to display your reconstructed, noise-filtered spatial image cropped exactly to its original dimensions. Use the Undo shortcut to flip back and forth to see the incredible difference your frequency filtering achieved!
🎯 Pro Tips for Editing the FFT Image Before Running Inverse FFT
To get the cleanest possible reconstruction without introducing visual artifacts, keep these core frequency-editing principles in mind:
- 1. Never Paint Over the Center Peak (DC & Low Frequencies): The bright cluster at the exact center
(0, 0)holds the fundamental brightness, color balance, and overall contrast of your entire image. Painting black over the center will cause the reconstructed image to become dark, washed out, or display only ghostly high-pass outlines. - 2. Always Mask Symmetric Pairs Together: Because real images exhibit conjugate symmetry in the frequency domain, every periodic noise pattern appears as two identical bright spots (or lines) directly opposite each other across the center. When removing a noise spike in one quadrant (e.g., top-right), always paint over its mirror twin in the opposite quadrant (e.g., bottom-left) for optimal mathematical cancellation.
- 3. Use Pure Black (RGB
0, 0, 0) for Masking: PhenoCapture AI’s differential masking algorithm specifically checks whether the edited pixel’s average RGB value drops below5(editColor < 5) where the original magnitude plot had visible signal (origColor >= 5). Using pure black guarantees that the complex Real and Imaginary values at those coordinates are cleanly reset to0.0. - 4. Target Discrete Spikes, Not Broad Wedges: Periodic interference (like sensor scanlines, LED flicker, or microplate grid patterns) concentrates into sharp, isolated bright stars or thin radiating streaks away from the center. Use an appropriately sized brush to dab out just those bright spikes and streaks rather than erasing huge areas of the canvas, preserving fine natural textures.
- 5. Do Not Resize or Crop the FFT Plot Manually: Keep the FFT Magnitude Plot in the active workspace at its exact power-of-2 dimensions until you run Inverse FFT. The engine automatically validates the canvas size against the in-memory complex arrays and handles cropping back to your original resolution automatically upon completion.