✨ A Complete Guide to AI Image Quality Restoration
PhenoCapture AI’s AI Image Quality Restoration suite provides a powerful set of neural-processing tools designed to rescue blurry, noisy, or degraded images. Because different images require different types of recovery, PhenoCapture AI offers multiple restoration modes—ranging from blazing-fast stylized fixes to deep, natural photographic reconstruction.
Whether you need to quickly sharpen an edge, recover complex details, or naturally restore a damaged photograph, this guide will help you choose the perfect mode for your workflow.
⚡ Core Architecture: Local, Private & Offline AI
- 100% Local PC Execution (Zero Cloud Uploads): All processing and AI inferences run exclusively on your local machine. Your proprietary research data and images are never transmitted to the cloud or over the network.
- CPU Acceleration & Parallel Processing: These neural-processing features are highly optimized to run efficiently on standard desktop CPUs using parallel processing. You do not need an expensive GPU to achieve high-quality AI restoration.
- Fully Functional Offline: Operates seamlessly without an active internet connection, making it ideal for secure facilities and offline workstations.
💡 Key Suite Features
- Deep Quality Enhancement: These tools go beyond simple sharpening filters; they utilize advanced neural networks to reconstruct the finer details of your image, perfect for rescuing older, blurry, or low-quality images with a high-definition finish.
- Whole Image or Targeted Processing: You have complete control over what gets restored! You can choose to enhance the entire image at once, or use the selection tools to highlight a specific area (like a face or a focal object).
- Seamless Regional Blending: When you choose to restore only a specific section of your image, the AI intelligently reads a small border around your selection. This ensures that the newly enhanced area blends perfectly and naturally back into the rest of your original photo without any harsh or artificial lines.
- Detailed Progress Tracking: Because high-quality restoration performs heavy analysis, a dedicated progress window will keep you informed every step of the way. You will never have to guess how much time is left, and your workspace will remain completely responsive.
- Risk-Free Editing: Connected directly to PhenoCapture AI’s built-in undo system. You can safely run the intensive restoration process and instantly revert to your original image with a single click to compare the stunning “before and after” difference!
🔍 Restoration Modes Breakdown
PhenoCapture AI features five distinct levels of image sharpening and restoration. Below is a detailed breakdown of how each mode behaves, based on processing speed and the visual output style.
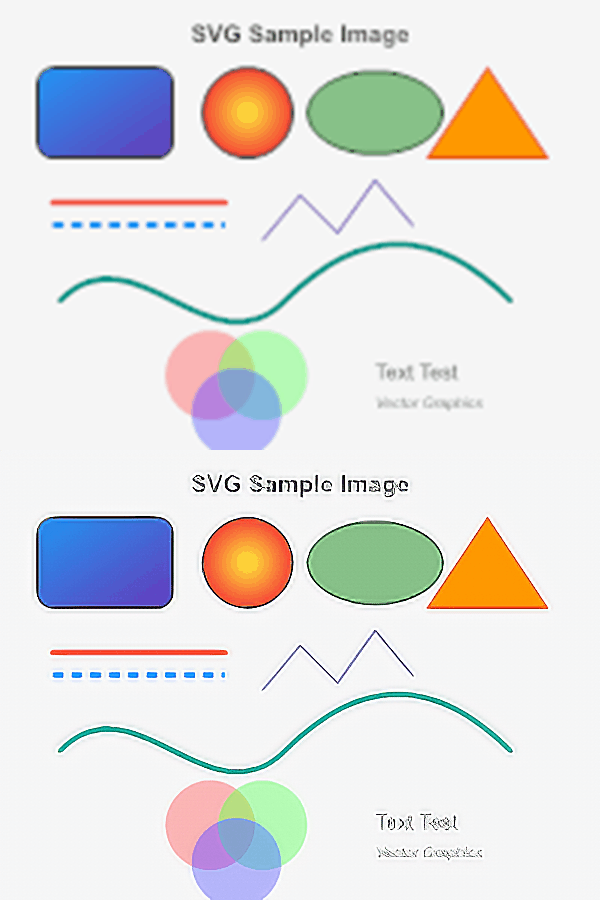
1. Image Sharpening (Fast)
- Best for: Aggressive edge enhancement.
- Characteristics: This mode applies a very strong, highly noticeable sharpening effect across the entire image. It is exceptionally fast, but the results can sometimes feel overly sharp or exaggerated. Use this when you strictly need to maximize edge visibility and contrast rather than maintaining a soft, natural look.


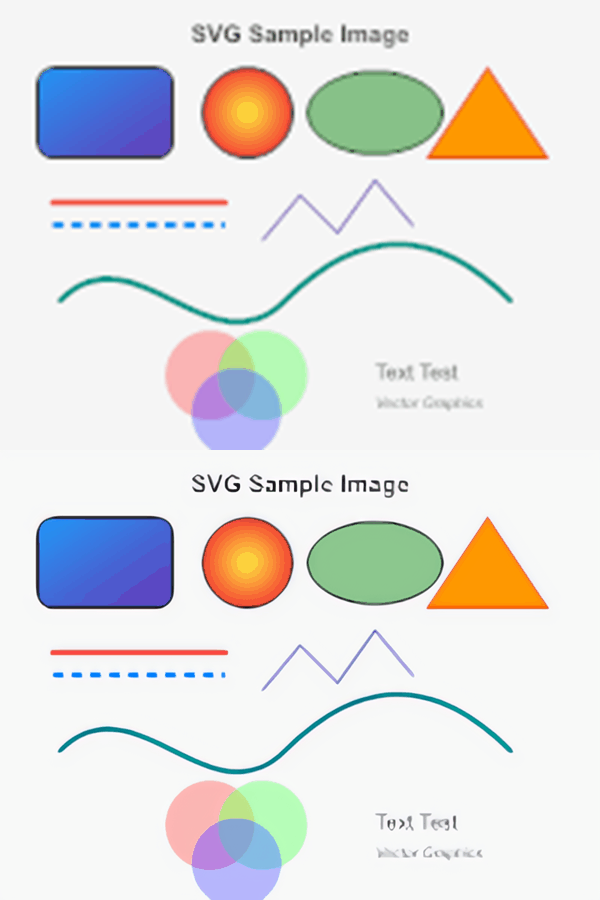
2. Image Quality Restoration (Fastest)
- Best for: Stylized images, graphics, or when maximum speed is required.
- Characteristics: Operating at lightning speed, this mode cleans up images instantly. However, it tends to blend colors into simpler, smoother blocks. The final result often resembles an illustrated “animation” style rather than a photorealistic image. It is less suited for natural life photos but excellent for graphic art or stylized noise reduction.


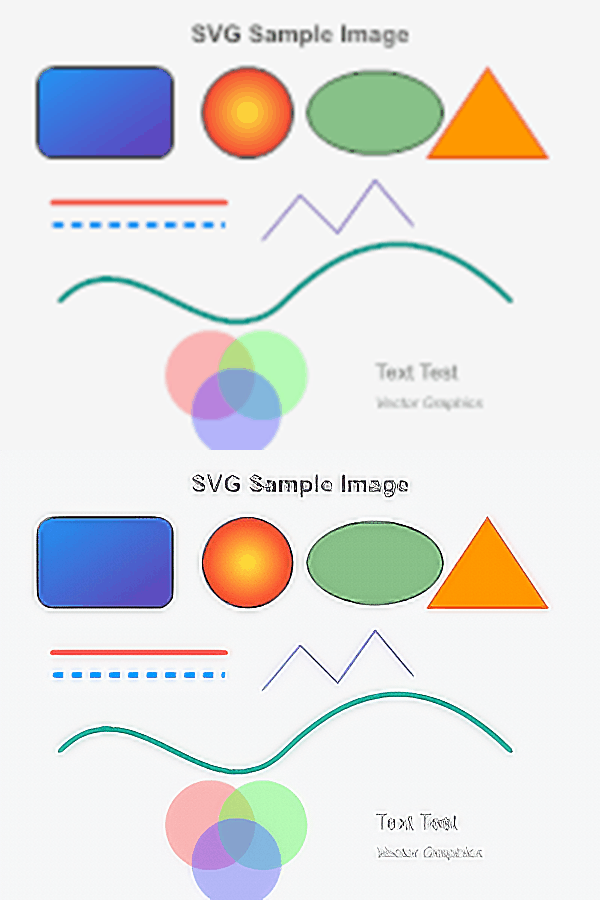
3. Image Quality Restoration (Fast)
- Best for: Recovering intricate textures and details quickly.
- Characteristics: This is a highly efficient mode that excels at generating and recovering complex internal details within an image. It processes quickly while restoring lost textures. Users should note that it does apply a slightly aggressive overall sharpening effect alongside the restoration.


4. Image Quality Restoration (Slow)
- Best for: Real-life photography and natural images.
- Characteristics: Though it takes more processing time, this mode delivers the most natural and outstanding restoration for real-life photographs. It intelligently reduces noise and recovers details without introducing harsh edges or artificial “painted” artifacts, preserving the true-to-life feel of the original photo.


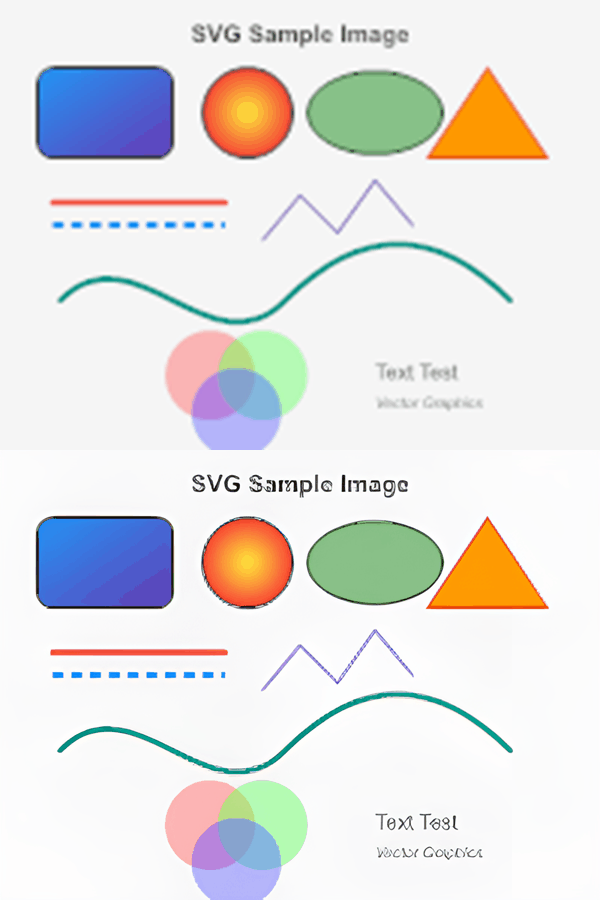
5. Image Quality Restoration (Slowest)
- Best for: Extremely subtle, conservative touch-ups.
- Characteristics: This is the most computationally intensive mode. Instead of making dramatic changes, it performs a highly minimal and conservative restoration. When compared directly to the original image, the visual differences are often very subtle. It is ideal when you want to retain the absolute original integrity of the image with only the slightest microscopic refinements.
📊 Quick Comparison Summary
| Mode | Speed | Visual Result & Aesthetic |
|---|---|---|
| Image Sharpening (Fast) | Fast | Extremely sharp edges; can feel slightly excessive on natural photos. |
| Quality Restoration (Fastest) | Fastest | Smooth, color-blocked appearance resembling animation/illustrations rather than photorealism. |
| Quality Restoration (Fast) | Fast | Excellent at rebuilding complex internal details, accompanied by strong overall sharpening. |
| Quality Restoration (Slow) | Slow | Highly recommended for photos. Produces the most natural, high-quality photographic restoration. |
| Quality Restoration (Slowest) | Slowest | Highly minimal adjustments. Preserves the original image almost exactly with very subtle refinements. |
🛠️ How to Use the Quality Restoration Tools
Step 1: Select Your Area (Optional)
By default, the AI will process your entire image. However, if you configure a region selection (such as a rectangle or polygon), only the selected area will be modified. The tool seamlessly handles edge masking and compositing for you, leaving the unselected portions of your image completely untouched.
Step 2: Choose Your Engine
Navigate to the Neural-Processing menu. Based on your image type (illustration vs. photograph) and how much time you have, select the appropriate restoration mode from the list.
Step 3: Let the AI Process
A progress window will appear, detailing the model loading and processing steps. Once completed, the heavily optimized neural network will automatically apply the enhancements directly to your workspace. Use the Undo/Redo buttons to quickly compare the ‘Before’ and ‘After’ states!