✨ A Complete Guide to the Auto Equalize Tool
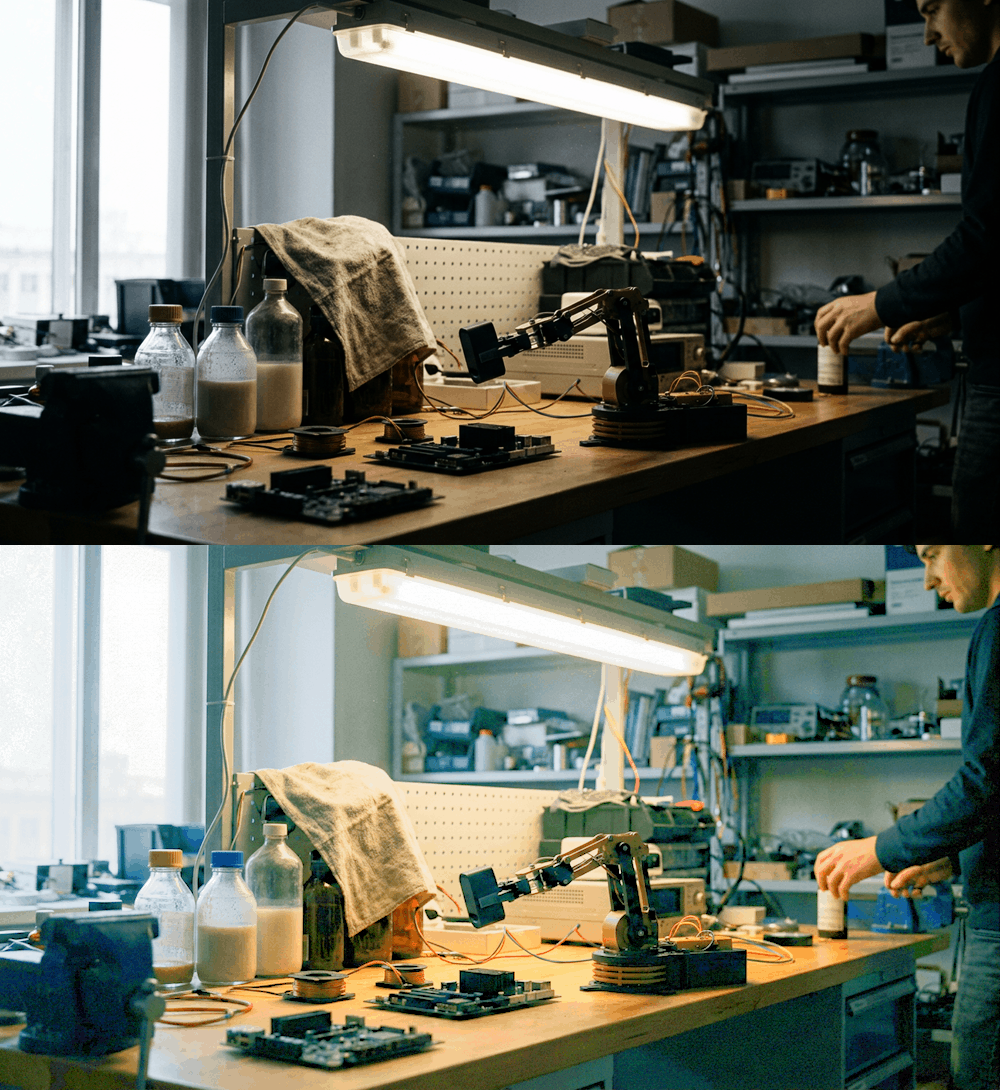
PhenoCapture AI’s Auto Equalize tool uses an advanced mathematical technique called Histogram Equalization to dramatically enhance hidden details and contrast in your images. Just like the Auto Contrast feature, this tool analyzes the grayscale luminance to perform the equalization, and then proportionally scales the RGB channels. This ensures a massive boost in dynamic range and detail while perfectly preserving your original color balance.
💡 Key Features
- Advanced Histogram Equalization: The algorithm analyzes the brightness distribution of your image and calculates a Cumulative Distribution Function (CDF). It uses this data to generate a specialized Look-Up Table (LUT) that flattens out the histogram—effectively pulling out hidden details in areas that are otherwise too dark or too washed out.
- Color-Preserving Scaling: To prevent the color shifting (color cast) that plagues standard equalization tools, PhenoCapture AI maps the new equalized grayscale value and calculates a proportional ratio. This exact ratio is then applied mathematically to the original Red, Green, and Blue values, giving you extreme detail enhancement without distorting the true colors.
- Smart Regional Masking: Need to reveal details in just one shadowy corner? Draw a selection boundary! If a mask is active, the Auto Equalize algorithm will exclusively analyze and equalize that specific region while perfectly preserving the rest of your image.
- Multi-Core Parallel Processing: Built for maximum efficiency. The tool leverages advanced parallel processing (TPL) to divide the heavy pixel-by-pixel CDF calculations and RGB scaling across your computer’s CPU cores, ensuring blazing-fast execution even on high-resolution images.
- Smooth Progress Tracking: For larger files, the engine intelligently reports its progress in ~10% intervals. This prevents UI freezing and keeps your workspace responsive while the algorithm crunches the data in the background.
- Seamless Undo Integration: Connected directly to PhenoCapture AI’s built-in undo engine. You can safely experiment with the aggressive contrast stretching of Auto Equalize and instantly revert to the original state if needed!
🛠️ How to Use the Auto Equalize Tool
Step 1: Prepare Your Image and Mask (Optional)
Ensure your image is loaded into the main workspace. If you want to restrict the detail enhancement to a specific shadowy or washed-out area, use the advanced selection tools to draw your mask boundary. Otherwise, the tool will process the entire image.
Step 2: Apply Auto Equalize
Navigate to the menu and click on Auto Equalize.
Step 3: Let the Engine Work
The software will instantly calculate the cumulative distribution of the image’s luminance, build the equalization LUT, and proportionally scale the RGB values to reveal hidden details. You can monitor the progress bar for larger files. Once complete, your deeply enhanced image will appear in the workspace immediately. If the effect is too strong or you wish to compare it with the original, just use your standard Undo shortcut!