✨ A Complete Guide to the Gray Scaling Tool
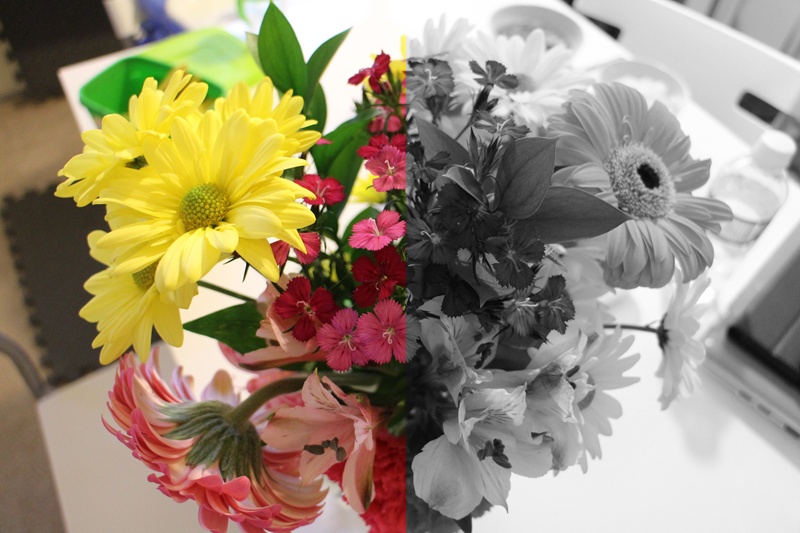
PhenoCapture AI’s Gray Scaling tool instantly converts your full-color images into beautiful, accurate black-and-white representations. By calculating the true luminance of the image based on human eye perception, it delivers a much richer and more natural grayscale result than simple desaturation.
💡 Key Features
- High-Speed Luminance Conversion: The algorithm calculates grayscale using a specialized formula that weights colors based on human perception (Red, Green, and Blue). To achieve extreme speed, it uses highly optimized bit-shift operations
(R * 77 + G * 150 + B * 29) >> 8, ensuring lightning-fast conversions. - Extreme Performance Optimizations: This tool has been engineered for maximum efficiency. Under the hood, the engine bypasses standard class member overhead by cloning memory directly to localized arrays (
localSrcPixels,localOutPixels) and referencing struct indices locally, resulting in nearly zero memory-access latency. - Smart & Safe Regional Masking: Want to convert only a specific object while leaving the background in full color? Draw a selection boundary! The masking logic includes highly robust safety features—such as automatic boundary clipping and null-reference index blocking—to guarantee perfect stability and prevent out-of-bounds errors.
- Multi-Core Parallel Processing: Built for heavy workloads. The tool leverages advanced parallel processing (TPL) to divide millions of pixel calculations across your computer’s CPU cores simultaneously.
- Smooth Progress Tracking: For large, high-resolution files, the engine intelligently throttles its progress reports to ~10% intervals. This prevents UI bottlenecking and keeps your workspace responsive while the algorithm crunches the data in the background.
- Seamless Undo Integration: Fully integrated with PhenoCapture AI’s built-in undo engine. You can safely apply the Gray Scaling adjustment and instantly revert to the original color state if needed!
🛠️ How to Use the Gray Scaling Tool
Step 1: Prepare Your Image and Mask (Optional)
Ensure your image is loaded into the main workspace. If you want to convert a specific area to grayscale (creating a striking “selective color” effect), use the advanced selection tools to draw your mask boundary around it. Otherwise, the tool will target the entire image.
Step 2: Apply the Gray Scaling Filter
Navigate to the menu and click on Gray Scaling.
Step 3: Let the Engine Work
Thanks to the extreme memory optimizations and bit-shift processing, the software will instantly convert your image. You can monitor the progress bar for massive files. Once complete, your newly converted grayscale image will appear in the workspace immediately. If you wish to compare it with the original, just use your standard Undo shortcut!