✨ A Complete Guide to the Dilate Tool
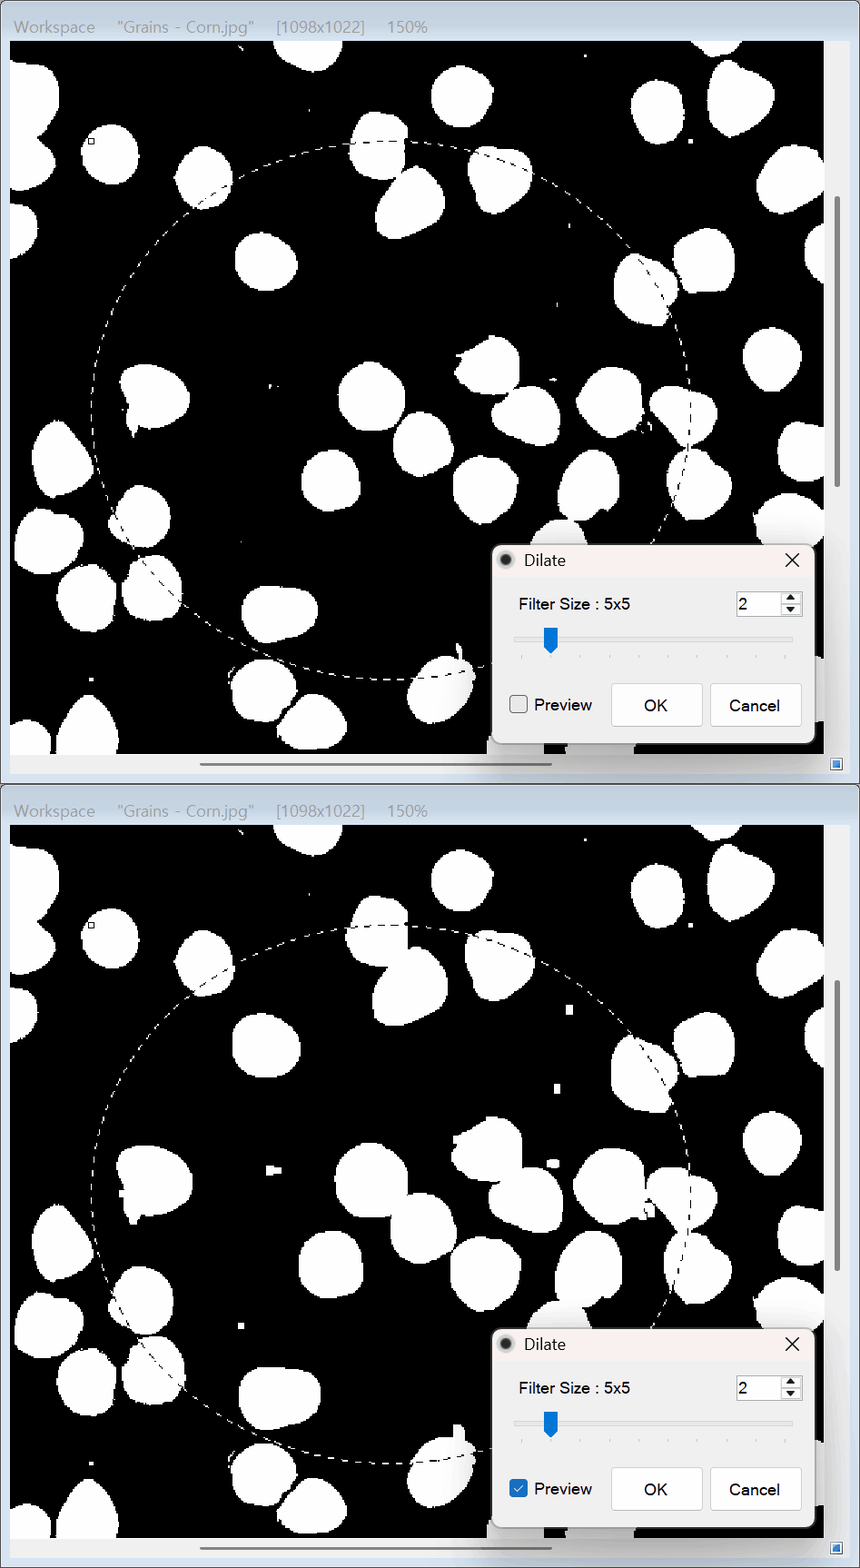
PhenoCapture AI’s Dilate tool utilizes morphological image processing to expand, thicken, or “dilate” the boundaries of bright objects within your image. With our newly upgraded interactive interface, you can now smoothly adjust the dilation intensity and watch the neighborhood pixel analysis happen in real-time before committing to the final image.
💡 Key Features
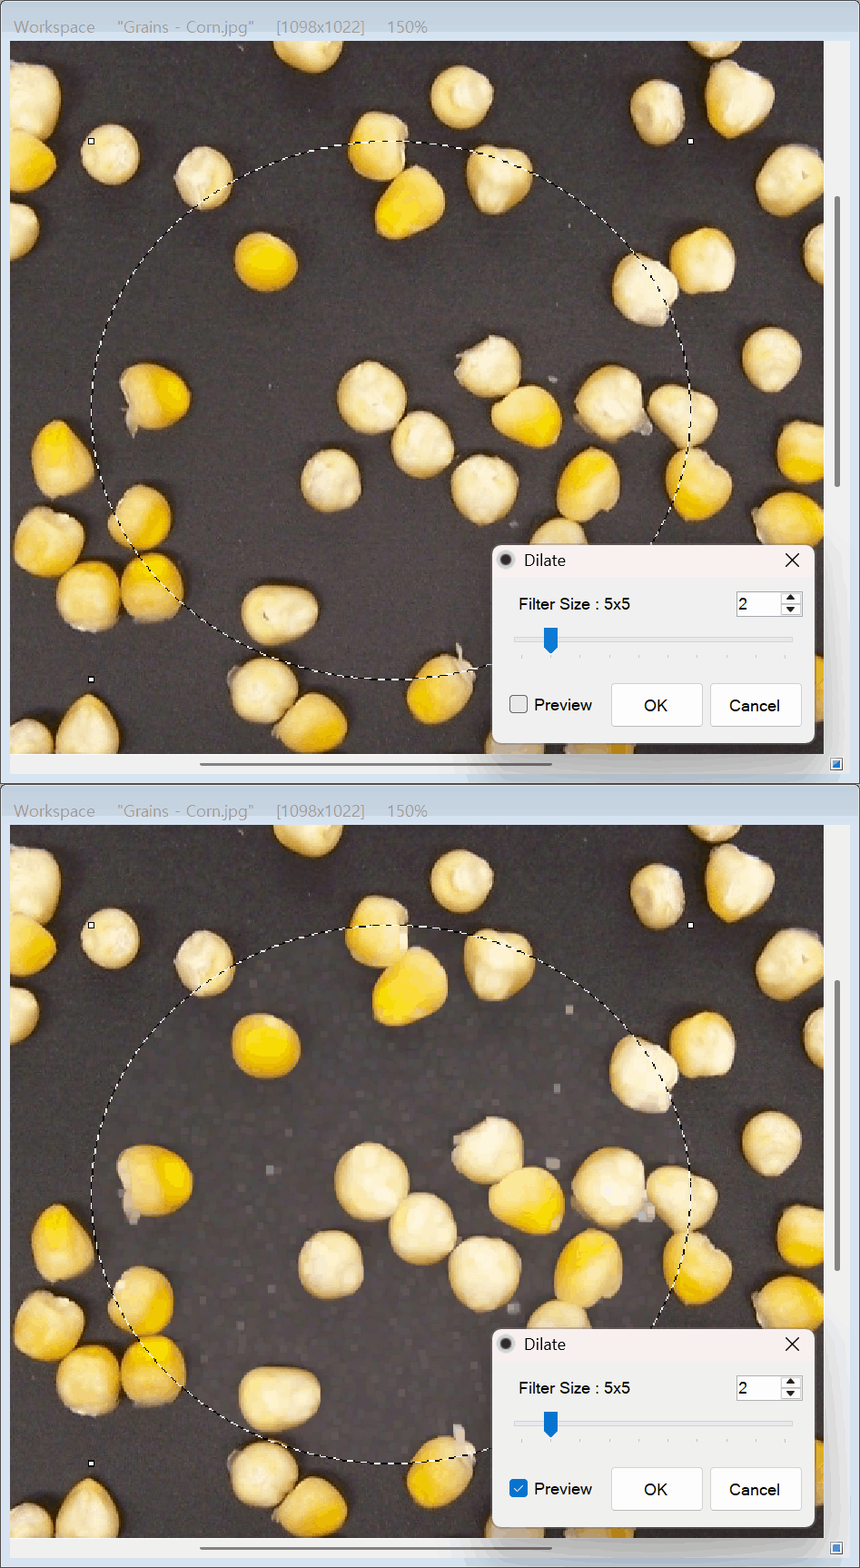
- Real-Time Live Preview: Instantly see the dilation effect on your canvas as you adjust the settings. The preview engine is fully optimized to render seamlessly without any lag, and it intelligently compensates for your current canvas zoom level to guarantee an accurate visual representation.
- Dynamic Radius Control: Fine-tune your expansion strength using a simple slider. Choose a radius from 1 to 10, allowing you to apply anything from a subtle 3×3 refinement for closing tiny gaps, all the way up to a massive 21×21 aggressive dilation for significantly thickening objects.
- Full-Color RGB & Binary Compatibility: Just like the Erode tool, PhenoCapture AI’s Dilate algorithm works flawlessly on both binary images and full-color RGB images. The engine calculates the grayscale luminance of the neighborhood to locate the brightest pixel, and then applies that exact, original RGB color to the output!
- Lightning-Fast Parallel Processing: The Dilate algorithm is fully optimized for your CPU’s multi-core architecture. It splits the heavy maximum-pixel search across multiple threads, ensuring smooth and rapid processing even when applying massive 21×21 filters to high-resolution datasets.
- Smart Regional Masking: Need to dilate just a specific section of your image? Draw a selection boundary! The tool will strictly confine its morphological operations to your masked area, leaving the rest of your image completely untouched and perfectly preserved.
- Seamless Undo Integration: Connected directly to PhenoCapture AI’s built-in undo engine, allowing you to safely experiment with different filter sizes and instantly revert if the expansion is too aggressive.
🛠️ How to Use the Dilate Tool
Step 1: Prepare Your Workspace and Mask (Optional)
Load your image into the main workspace. If you only want to dilate a specific object or region, use the advanced selection tools to draw your mask boundary. If no mask is active, the tool will process the entire image.
Step 2: Adjust the Dilation in Real-Time
Navigate to the menu and open the Dilate tool.
- Ensure the Preview checkbox is enabled.
- Drag the Filter Size slider (radius 1 to 10) to adjust the intensity. The canvas will update instantly to show you exactly how much the bright objects will expand.
Step 3: Apply and Review
Once you are satisfied with the preview, click OK. The parallel processing engine will instantly process the high-resolution final image and commit it to your workspace. If you need a different intensity later, simply use the standard Undo shortcut to revert to the original state and try another radius!