✨ A Complete Guide to AI Inpainting
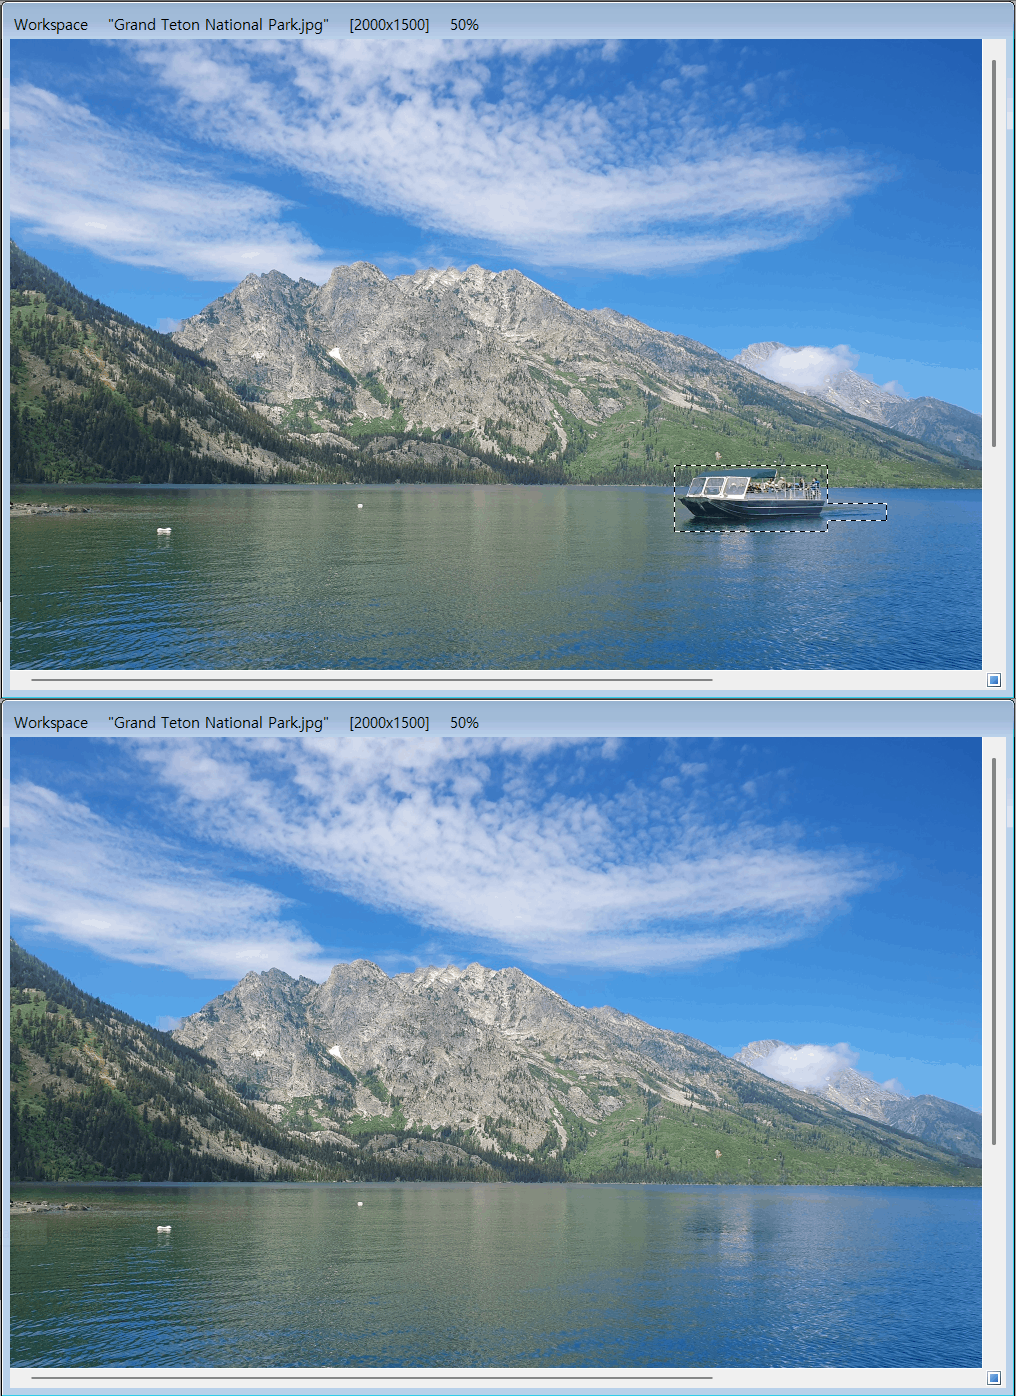
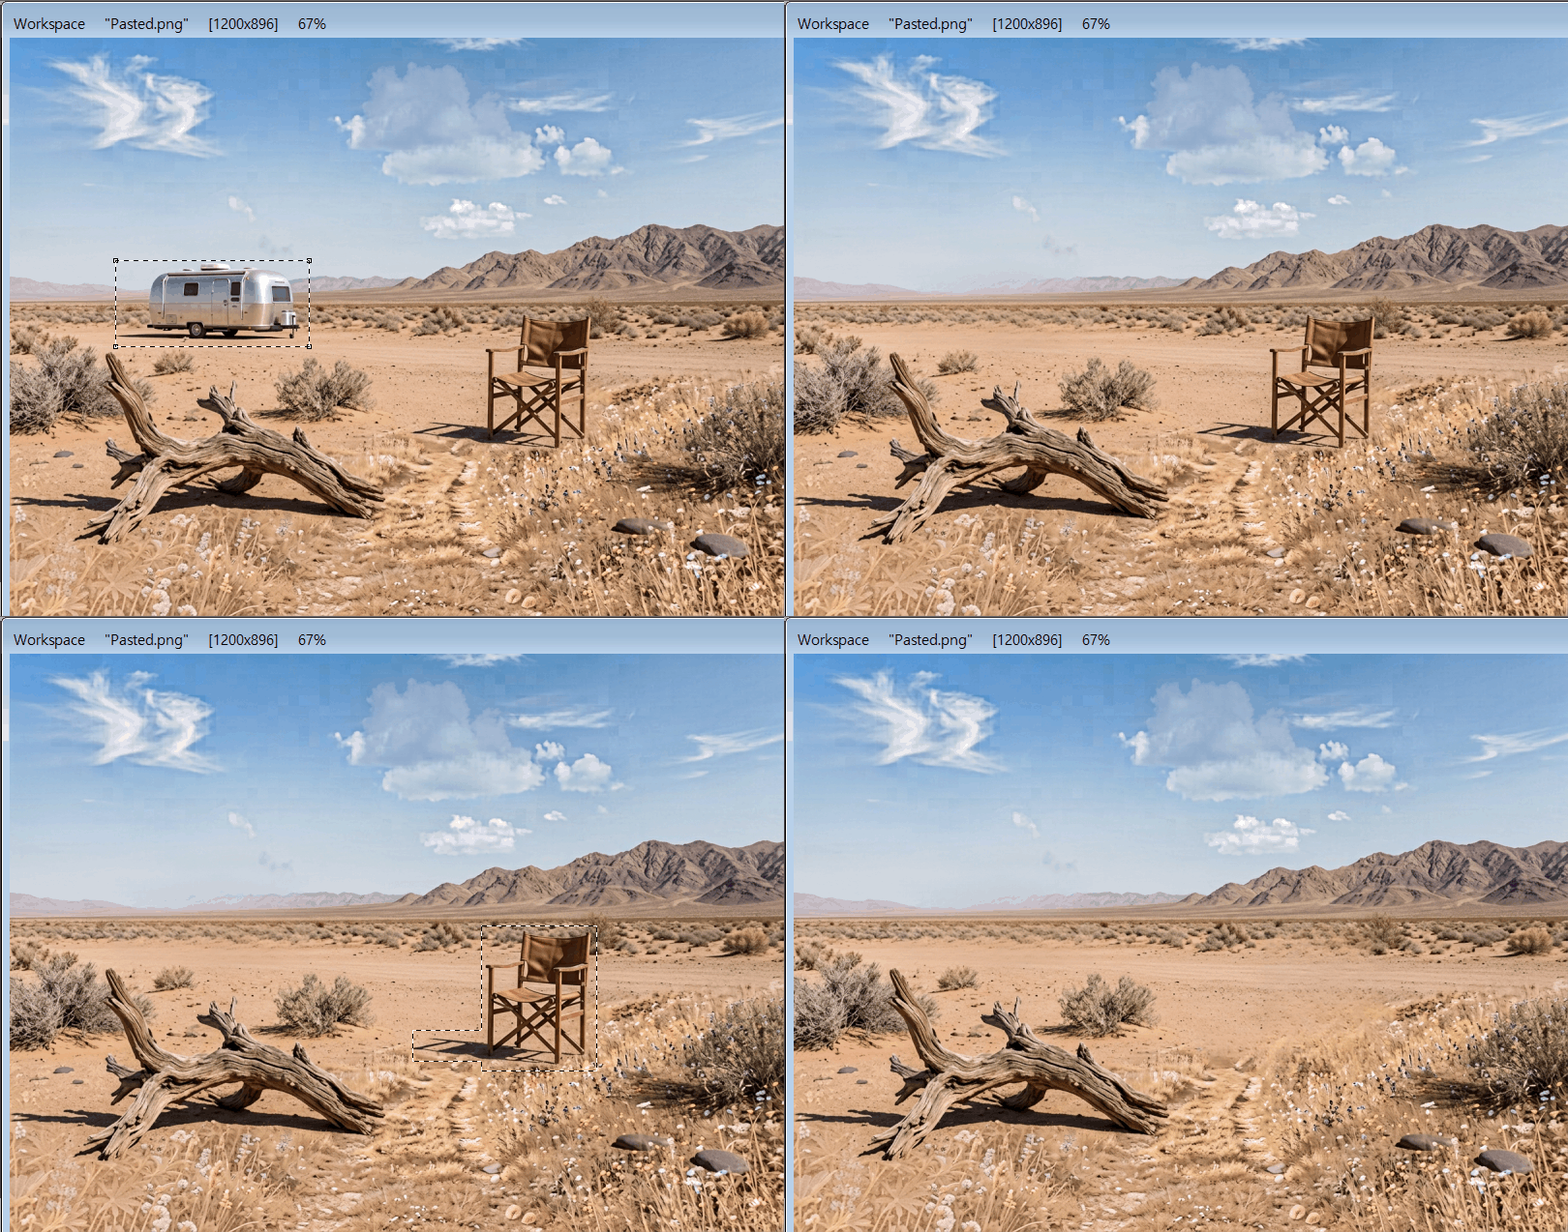
PhenoCapture AI’s AI Inpainting tool acts like a digital magic eraser for your images. Powered by a highly trained artificial intelligence model, this tool allows you to completely remove unwanted objects, defects, or distractions from your workspace. Instead of leaving a blank hole, the AI intelligently analyzes the surrounding textures and lighting to recreate a flawless, natural-looking background in its place.
Whether you need to clean up a scientific scan or remove an artifact from a photograph, the inpainting engine seamlessly does the heavy lifting for you.
💡 Key Features
- Advanced Context Awareness: To generate the most realistic background possible, the tool doesn’t just look at the area you want to erase. Behind the scenes, it intelligently expands its view (by an invisible 128-pixel buffer) to analyze the surrounding environment, ensuring the newly generated textures match perfectly.
- Targeted Object Removal: Total control over what gets erased! To protect your original image, this tool requires you to use the selection or masking tools first. It will only replace the exact area you highlight, leaving the rest of your image completely untouched.
- Smooth Background Processing: AI operations require massive calculation power, but PhenoCapture AI handles it gracefully. A dedicated progress window keeps you informed while the engine runs smoothly in the background, ensuring your workspace never freezes up. You even have the option to safely cancel the process midway!
- Flawless Auto-Blending: Once the AI generates the replacement texture, the software uses an advanced blending technique to stitch the newly painted area directly back into your image with zero visible seams or hard edges.
- Seamless Undo Integration: Connected directly to PhenoCapture AI’s built-in undo engine. If you aren’t satisfied with how the AI interpreted the background, you can instantly revert to the original image and try adjusting your selection!
🛠️ How to Use the AI Inpainting Tool
Step 1: Select the Object You Want to Remove (Mandatory)
Load your image into the main workspace. Before running the tool, you must use the selection or masking tools to draw a boundary specifically around the object, text, or defect you want to erase.
(Note: If you attempt to launch the tool without a selection, the software will gently remind you to select a region first.)
Step 2: Launch the Inpainting Tool
Navigate to the menu and click on AI Inpainting.
Step 3: Let the AI Work
A dedicated progress window will pop up to show the engine loading the AI model and processing your image. Because the heavy calculations are pushed to the background, your computer will remain fully responsive.
Once the progress bar reaches 100%, the AI will seamlessly blend the new background into your image, making the unwanted object disappear. If you want to refine the result, simply use the standard Undo shortcut and adjust your mask!