🖌️ Draw Selection Border: Highlight What Matters
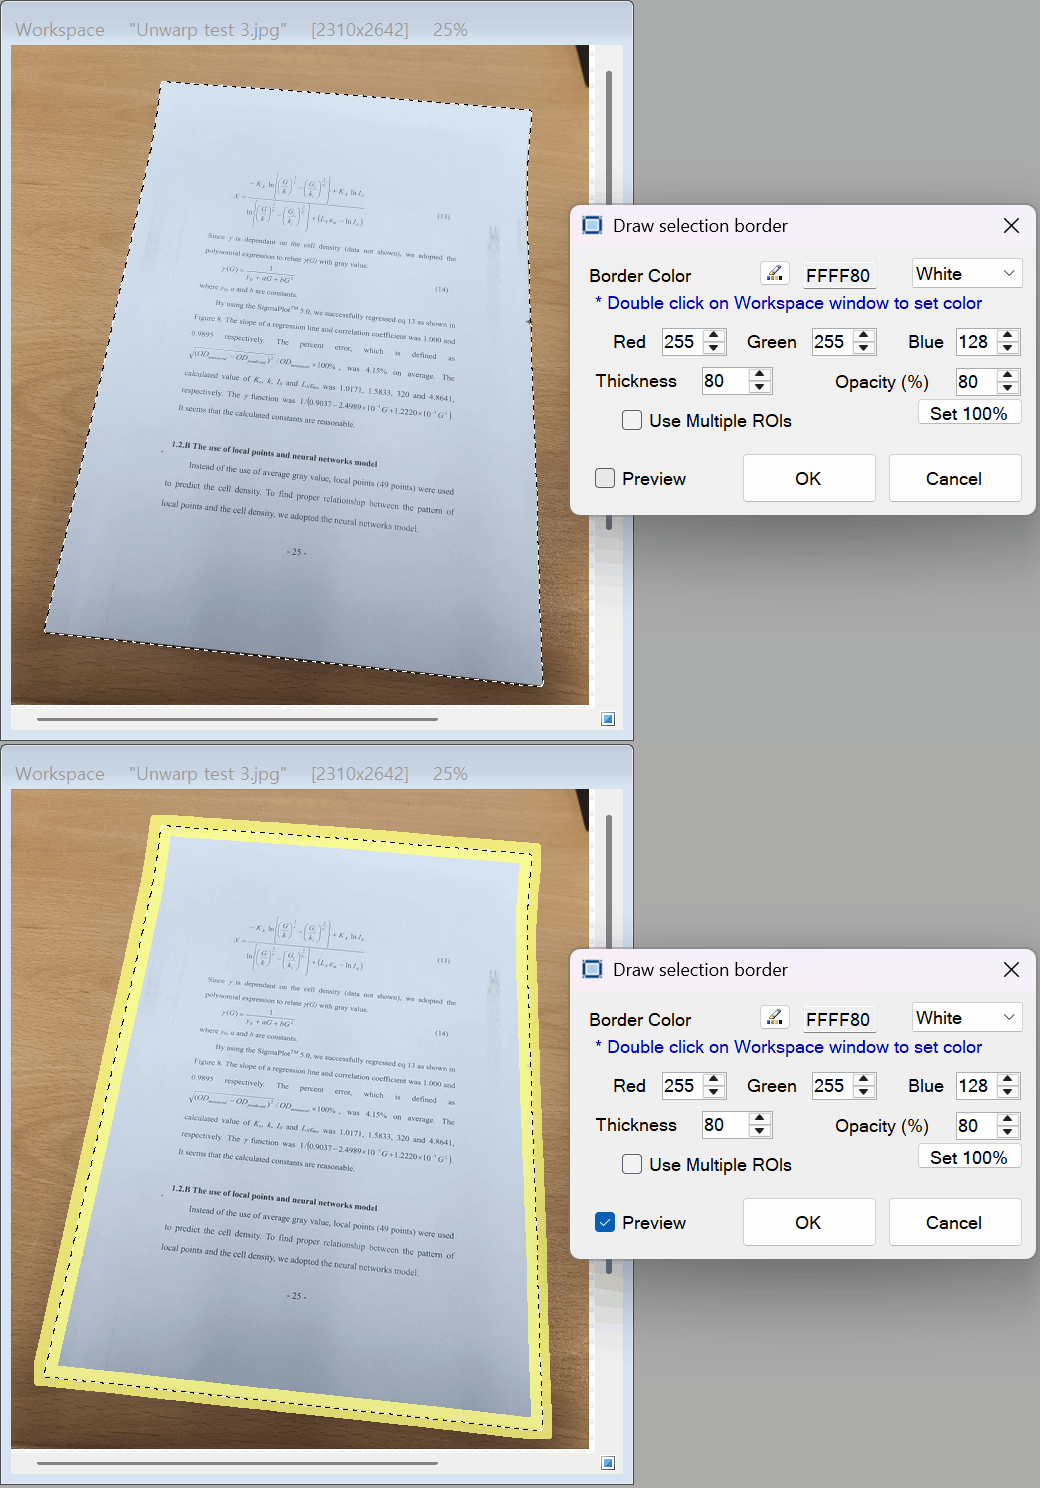
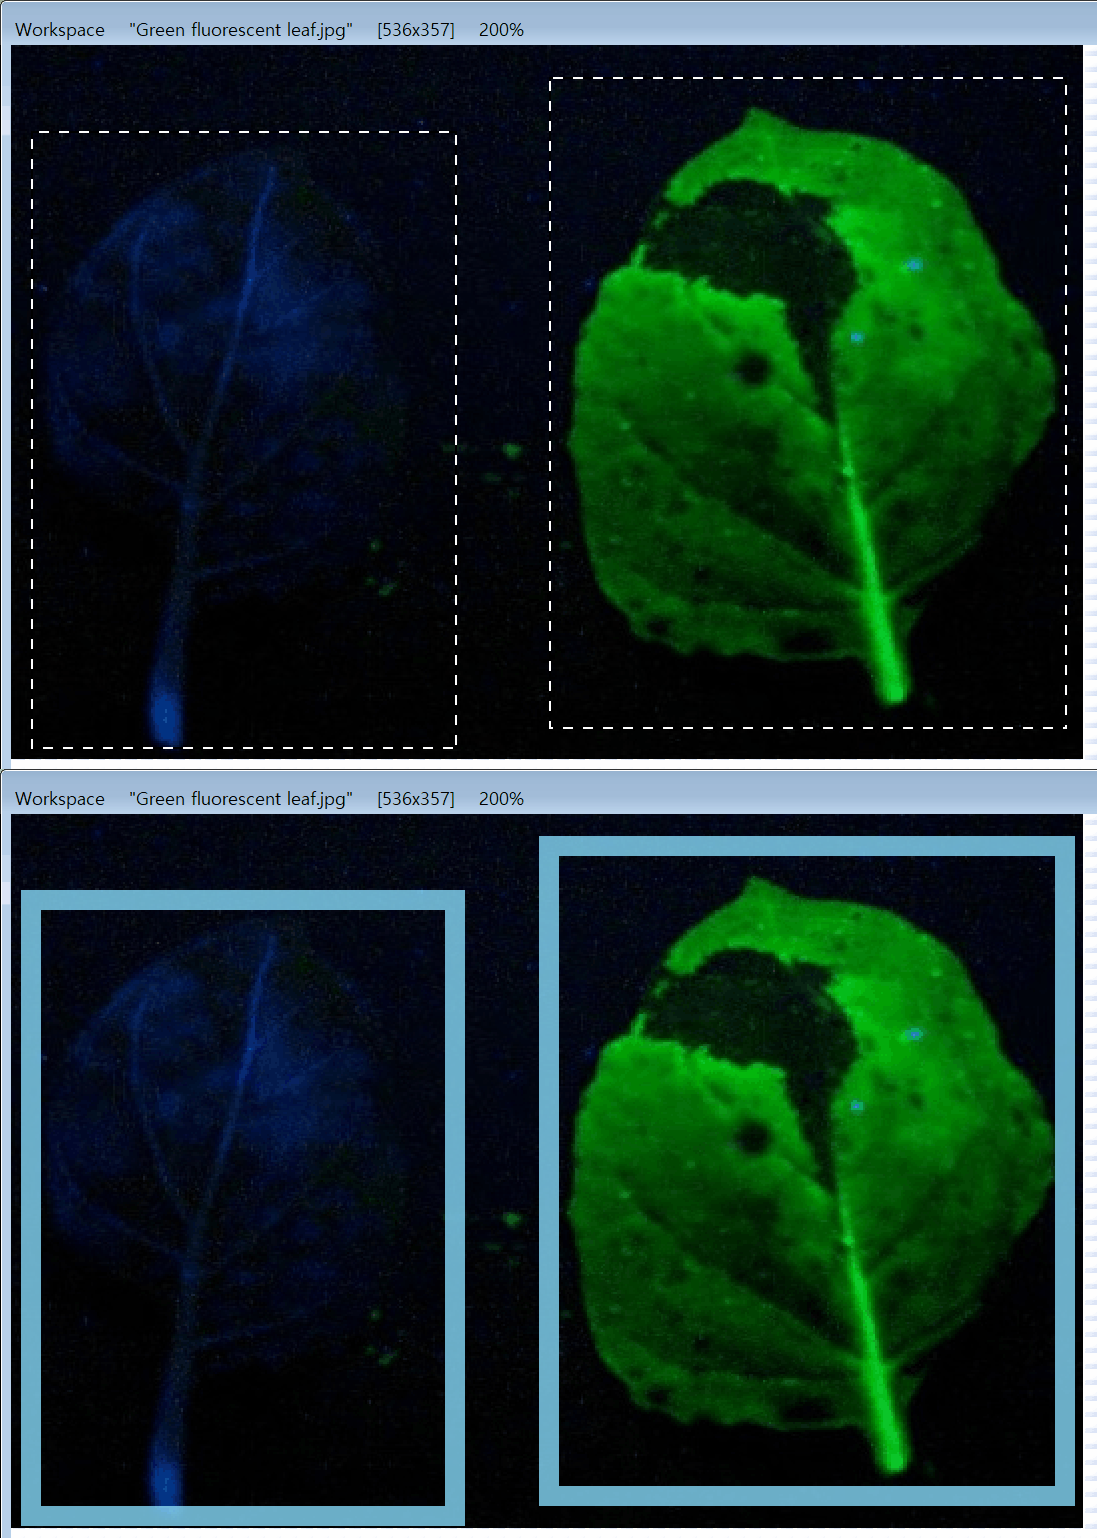
PhenoCapture AI’s Draw Selection Border feature provides an incredibly easy way to outline and highlight specific areas within your images. Whether you want to draw a frame around a person in a photograph, highlight an important paragraph in a scanned document, or draw attention to a specific object for a presentation, this tool makes it effortless.
You don’t need complex graphic design software to create clean, professional-looking highlights—everything is fully customizable and visible in real-time.
💡 Key Features
- Customizable Colors & Quick Presets: Choose from quick and convenient color presets (White, Black, Red, Green, Blue) or use the Color Picker to select the exact custom shade that matches your design.
- Adjustable Thickness & Opacity: Take full control of how your border looks. Make the outline as thick or thin as you need, and adjust the opacity to create a bold, solid frame or a subtle, translucent highlighter effect.
- Multiple Areas Support: Need to highlight several different parts of an image at once? The tool perfectly supports Multiple ROIs (Regions of Interest), allowing you to outline numerous items simultaneously without repeating the process.
- Real-Time Smart Preview: As you adjust colors and thickness, the live preview updates instantly on your canvas. It is fully synchronized with your workspace, meaning your borders will look perfectly accurate even if you zoom in to check fine details.
🛠️ How to Use the Tool
Highlighting exactly what matters takes just a few quick clicks:
Step 1: Select Your Area
First, use your standard selection tools in the workspace to draw a box or shape around the object, text, or area you want to highlight. If you need to outline the entire image, simply clear your selection!
Step 2: Customize Your Border
Open the Draw Selection Border settings. Click on the color preset or picker to choose your preferred outline color. Use the simple number controls to increase the thickness of the line and adjust the opacity until it looks exactly the way you want.
Step 3: Preview and Apply
Make sure the Preview box is checked so you can see your customized border dynamically updating on your image. Once you are satisfied with the look, click [OK] to permanently stamp the beautiful, clean border onto your image.
By using the Draw Selection Border tool, you can quickly draw attention to the most important parts of your images and documents, making your presentations and visual reports much clearer and more engaging!