✨ A Complete Guide to AI Depth Estimation
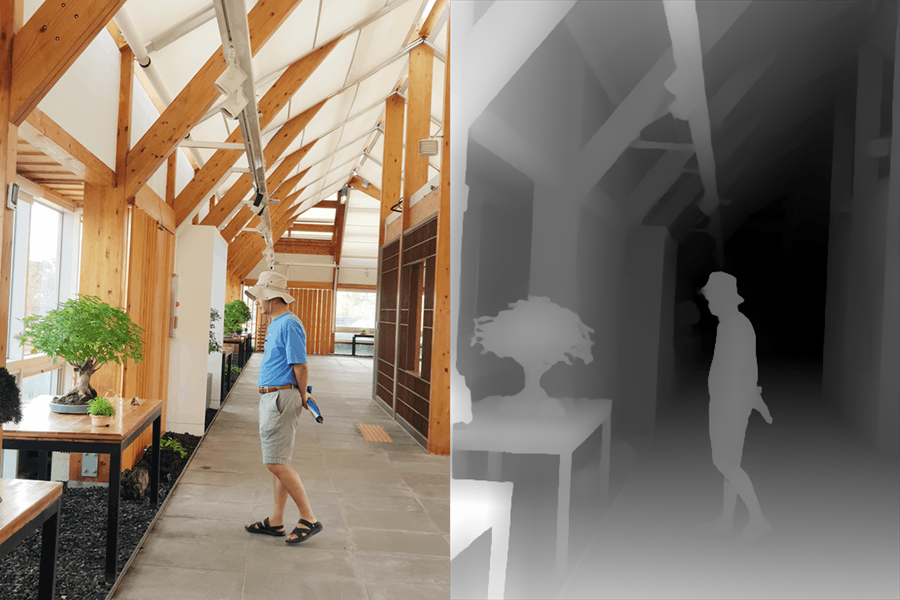
PhenoCapture AI’s AI Depth Estimation tool brings cutting-edge artificial intelligence directly to your workspace. Utilizing the advanced ONNX-based Depth Anything V2 model, this tool analyzes standard 2D images and intelligently calculates the spatial distance of every pixel, generating a rich, highly detailed 3D depth map.
This core feature is closely integrated with our 3D modeling capabilities. Whether you are preparing images to be converted using our Export Depth Map to 3D STL tool, conducting advanced spatial analysis, or performing complex depth-based filtering, this tool does the heavy lifting seamlessly in the background.
💡 Key Features
- Advanced ONNX AI Integration: Powered by a state-of-the-art dynamic ONNX model, the engine mathematically estimates depth from flat images, bringing real-world spatial awareness to your datasets.
- Smart Auto-Resizing for Large Files: AI inference can be computationally heavy. If you attempt to process an image or region larger than 1000×1000 pixels, the software will intelligently detect it and prompt you with an option to safely scale it down. This prevents memory overloads and drastically reduces processing time while maintaining excellent depth map quality.
- Asynchronous Progress Tracking: The heavy AI calculations are pushed to a background thread. A dedicated progress window keeps you updated through every phase—from “Loading model…” to “Estimating Depth Map…”—ensuring the main UI never freezes. You can even abort the process midway if you change your mind!
- Regional Masking & Seamless Blending: Need depth data for just one specific object? Draw a selection boundary! The engine will crop that specific area, run the AI estimation, and then use a highly optimized byte-level blending routine to seamlessly stitch the newly generated depth map right back into your original image.
🛠️ How to Use the AI Depth Estimator
Step 1: Prepare Your Workspace and Mask (Optional)
Load your image into the main workspace. If you only want to extract depth from a specific object or region, use the advanced selection tools to draw your mask boundary. If no mask is active, the tool will analyze the entire image.
Step 2: Launch the Estimation
Navigate to the menu and click on Depth Estimation.
Note: If your image or selected region is larger than 1000×1000 pixels, a prompt will appear asking if you’d like to safely downscale it for faster processing. Clicking Yes is highly recommended for standard hardware.
Step 3: Let the AI Work
A dedicated progress window will appear, keeping you informed as the ONNX model loads into memory and begins inferencing. Because the process is asynchronous, your computer will remain responsive.
Once the AI finishes estimating the depth and blends the visual mask, the resulting depth map will instantly appear in your workspace. If you want to revert to the original 2D image, simply use the standard Undo shortcut!