🖼️ A Complete Guide to Image Rotation
PhenoCapture AI’s Rotate feature is the perfect tool for correcting photos taken at the wrong angle or straightening scanned documents that came out tilted. Whether you need a quick 90-degree flip for a smartphone picture or a precise micro-adjustment to perfectly level a landscape horizon, this tool makes it effortless.
Here is everything you need to know about using this feature to fix your image orientation.
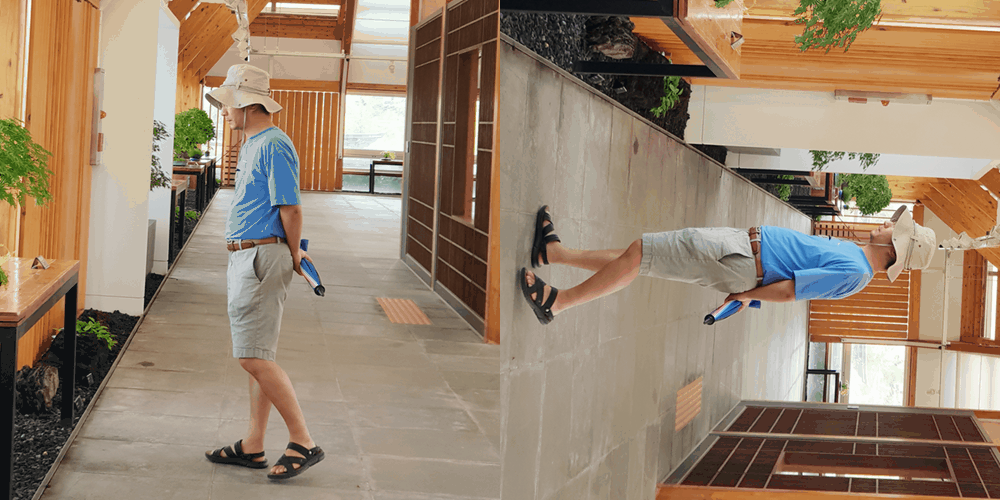
💡 Key Features
- Quick Standard Rotations: Instantly rotate your image by exactly 90, 180, or 270 degrees. This is ideal for quickly fixing photos that were saved sideways or upside down.
- Precise Free Rotation: Need to straighten a slightly crooked scan? Choose the Free Angle option and type in any specific degree to gently tilt and align your image perfectly.
- Custom Background Colors: When you rotate an image at a free angle, the canvas expands to fit the tilted image, creating empty spaces in the corners. You can fill these spaces seamlessly using built-in color presets or a custom color picker.
- Direction Control: Easily choose whether you want to rotate your image clockwise or counter-clockwise with a single click.
🛠️ How to Use the Rotate Tool
Fixing the orientation of your image is highly intuitive. Just follow these simple steps:
Step 1: Choose Your Rotation Type
Open the Rotate settings window. You can select a quick preset (90, 180, or 270 degrees) for standard flips. If you need a specific adjustment, select Free Angle. Simply typing a number into the angle box will automatically switch the tool to Free Angle mode for you.
Step 2: Set the Direction
Choose the direction of your rotation. You can select either clockwise or counter-clockwise depending on how your image needs to be corrected.
Step 3: Pick a Background Color (For Free Angles)
If you are using a Free Angle, you will need a background color to fill the new empty corners of the canvas. You can quickly select a preset like White or Black from the dropdown menu, or click the Color Picker icon to find the exact shade that matches your image.
Step 4: Apply the Rotation
Once your angle and background color are set, simply click OK. Your image will be instantly rotated and perfectly aligned!
(Tip: If you want to cancel the operation at any time without making changes, just click the Cancel button.)
With the Rotate tool, fixing the orientation and leveling of your photos or documents is completely hassle-free, ensuring your images always look professional and perfectly framed!