💾 Saving Workspace Selections with Smart Transparency
PhenoCapture AI’s Save Workspace Selection As tool provides a seamless way to export exactly what you need from your active project. This tool intelligently handles the background transparency and file format based on the shape you select, ensuring you get the perfect cut-out for your needs.
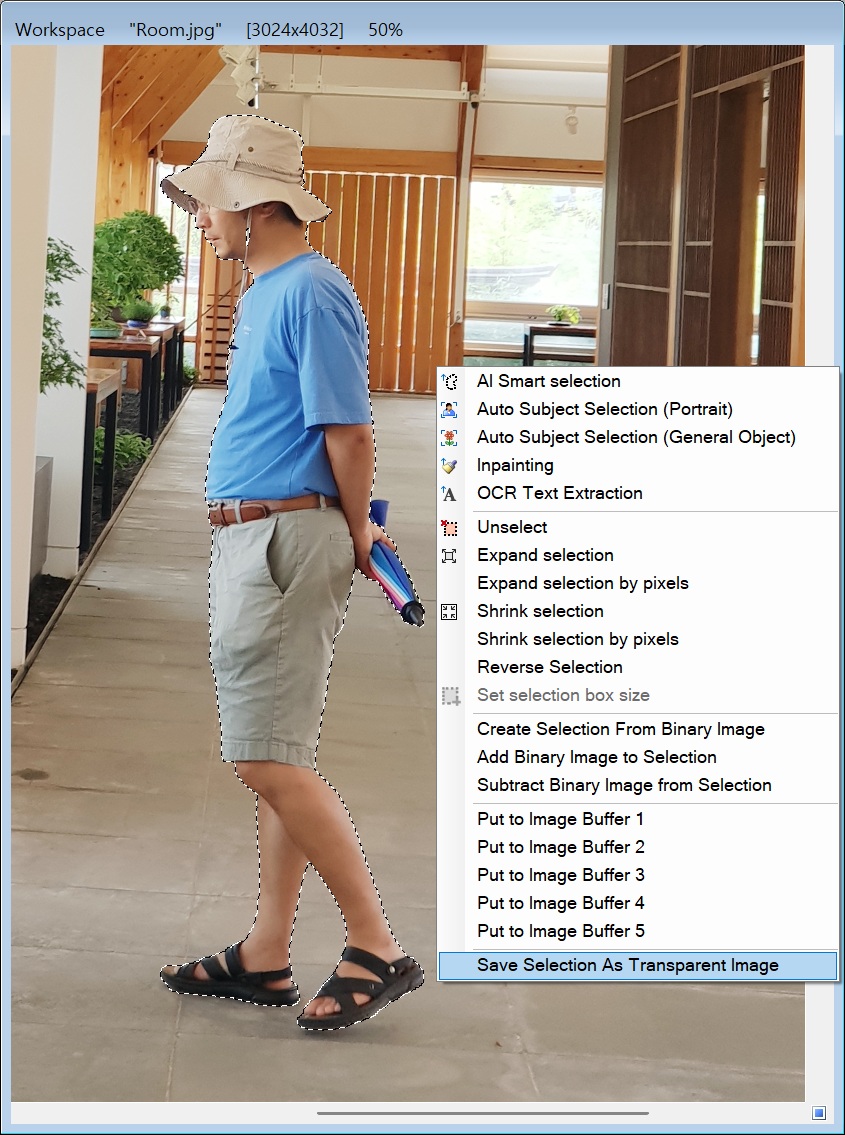 |
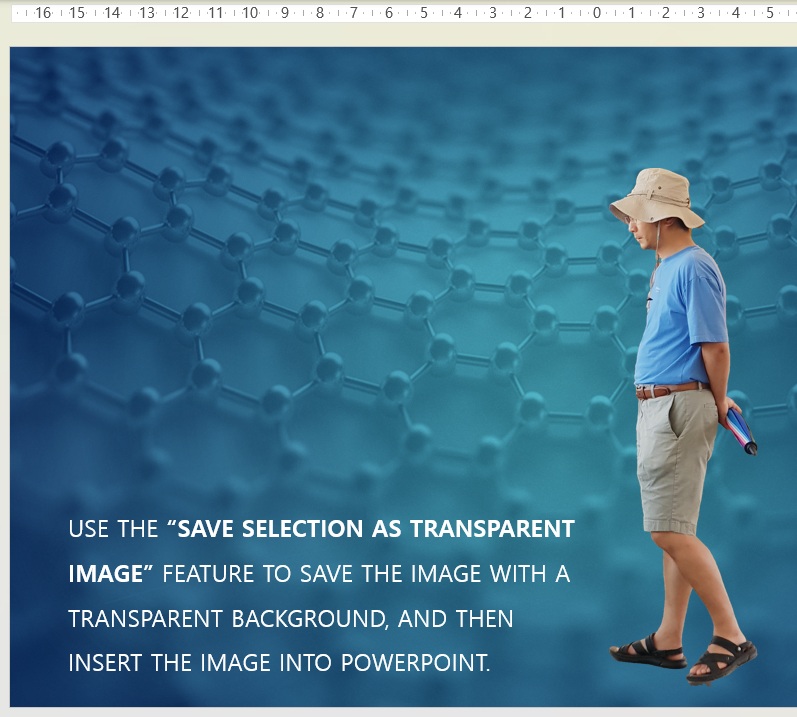 |
💡 Key Features
- Smart Background Transparency & Formatting: The software automatically determines the best way to save your image based on your selection shape:
- Rectangular Selections: If you select a standard rectangular area (or export the whole image), it is saved as a standard image file without transparency attributes.
- Non-Rectangular Selections: If you use a non-rectangular selection tool (such as a circle or custom polygon), or if the generated image has transparency properties, the software will allow you to save the file as a PNG or GIF. This ensures the areas outside your selection are perfectly transparent.
- Precise Regional Extraction: The tool flawlessly reads your active region boundaries. Instead of exporting the entire canvas and cropping it later, it instantly isolates your exact selection.
- Streamlined Workflow: Directly integrated into your workspace, it takes the friction out of exporting specific data points or visuals for your reports and presentations.
🛠️ How to Use Save Workspace Selection As
Exporting your targeted selections takes just a few simple steps:
Step 1: Prepare Your Image
Ensure you have an image actively loaded into your main workspace. (Note: The tool requires an active image on the drawing board to function.)
Step 2: Define Your Region
Using the advanced selection tools on your workspace, draw a boundary around the specific area you wish to keep.
- Pro-Tip: Pay attention to the shape you choose! Selecting a standard rectangle will result in a standard image without transparency. Drawing a circle or irregular shape will automatically trigger the transparency engine, allowing you to save a clean PNG or GIF without a background.
Step 3: Initiate the Save Command
Navigate to your export options and trigger the Save As command. (Note: As a premium export feature, the software will quickly verify your license status in the background before proceeding.)
Step 4: Export Your Image
A save dialog will instantly appear. Choose your desired folder on your computer, name your new image, and click Save. The software’s built-in image writer will automatically handle the rendering, applying transparency and saving as a PNG/GIF if required by your selection shape, giving you a perfect export every time!